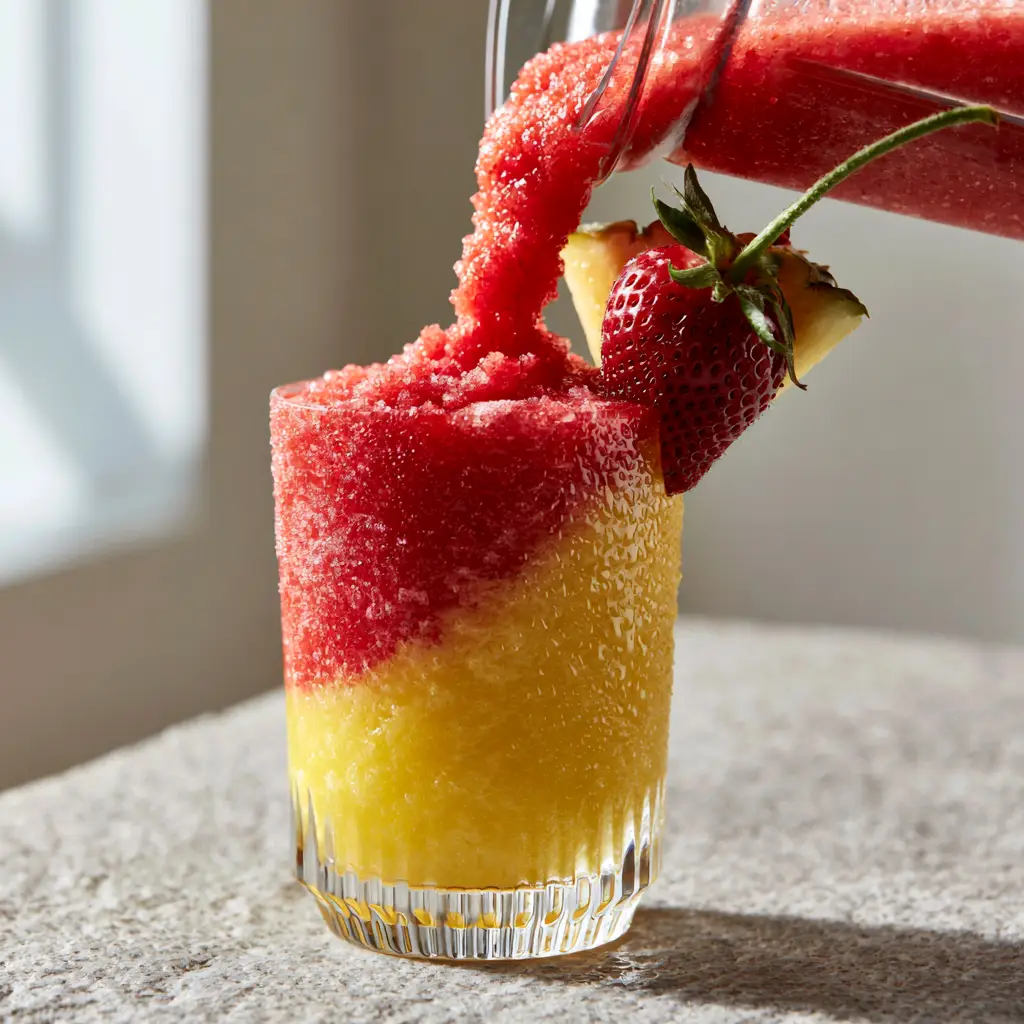
There is nothing quite like the sensory explosion of pineapple strawberry slushies on a sweltering afternoon. Imagine holding a crystal-clear ribbed glass, its exterior slick with cold condensation, while vibrant layers of sun-ripened yellow and deep berry red swirl together. This isn’t just a drink; it’s a textural masterpiece of frosty micro-ice crystals and velvety fruit puree that rivals any high-end tiki bar.
Achieving that iconic, thick-pour consistency seen in professional food photography requires more than just ice and fruit. It requires a specific balance of sugar solids and frozen fiber to create a slushie that stays suspended rather than separating into juice and ice. In this guide, we are diving deep into the culinary science of the perfect frozen pour, ensuring every sip is as vibrant as the last.
Why These Dual-Tone Slushies Are the Ultimate Summer Essential
- The “Velvet” Micro-Crystal Texture: Unlike chunky gas station slushies, these utilize frozen fruit as the primary structure, resulting in a smooth, spoonable consistency.
- Stunning Visual Contrast: The distinct separation between the bright yellow pineapple base and the rich strawberry top makes this a show-stopping addition to any Pinterest-worthy gathering.
- Natural Hydration: By utilizing whole frozen fruits, you get all the fiber and vitamins without the artificial dyes or corn syrups found in commercial versions.
- Professional Garnish Standards: We focus on the details—fresh green-stemmed strawberries and sharp pineapple wedges—to elevate the home kitchen experience to an elite level.
Essential Components for a Vibrant Dual-Layered Treat
To achieve the specific visual results of our pineapple strawberry slushies, every ingredient must serve a functional purpose. We aren’t just looking for flavor; we are looking for structural integrity and color saturation.
Frozen Pineapple Chunks: 3 cups (450g). Frozen pineapple provides the “meat” of the bottom layer, offering a creamy, fibrous base that supports the weight of the second layer.
Frozen Whole Strawberries: 3 cups (450g). Using whole frozen berries ensures a deep, opaque red color that contrasts beautifully against the yellow pineapple.
Pineapple Juice (Chilled): 1/2 cup (120ml). This acts as the liquid catalyst in the blender, allowing the blades to catch the frozen fruit without diluting the flavor with water.
Simple Syrup or Agave: 2 tbsp (30ml). Sugar isn’t just for sweetness; it acts as an anti-freeze agent, preventing the micro-ice crystals from clumping into a solid block.
Fresh Lime Juice: 1 tbsp (15ml). The acidity cuts through the sugar and brightens the natural colors of both fruits, making the yellow and red pop visually.
Fresh Garnish Elements: 2 whole strawberries with green stems and 2 small pineapple wedges. These provide the essential organic textures that signal “freshness” to the palate.
The Professional Toolset for Frozen Success
To replicate the dynamic pouring action and velvety consistency, you need a high-speed blender capable of pulverizing frozen fruit into a uniform suspension. A standard blender may leave large ice chunks, which ruins the “micro-crystal” aesthetic we are aiming for.
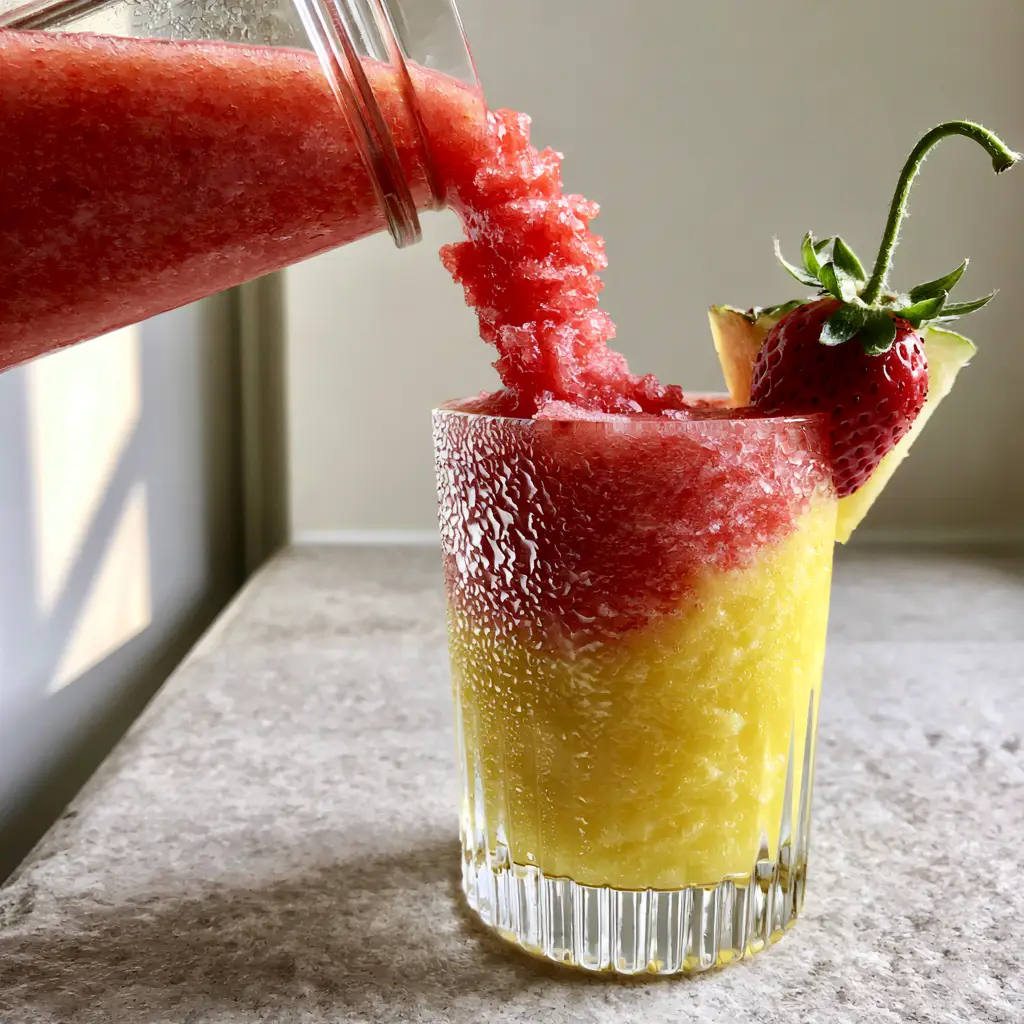
You will also need a ribbed glass tumbler. The ridges on the glass don’t just look elegant; they provide more surface area for condensation droplets to form, which enhances the “frosty” visual appeal that makes these drinks look incredibly cold and refreshing.
The Master Blueprint for Perfect Slushie Layers
Step 1: Constructing the Tropical Pineapple Base
Begin with the pineapple layer, as it is slightly denser and provides a sturdy foundation. In your blender jar, combine the frozen pineapple chunks, 1/4 cup (60ml) of the pineapple juice, and a splash of lime juice.
Pulse on low until the fruit is broken down, then ramp up to high speed for exactly 20 seconds. Visual Cue: Look for a “vortex” to form in the center; the mixture should look like thick, whipped soft-serve gold. Pour this into the bottom half of your ribbed glasses immediately and place them in the freezer while you prep the next layer.
Step 2: Blending the Crimson Strawberry Swirl
Rinse the blender jar thoroughly with cold water. Add the frozen strawberries, the remaining pineapple juice, and the simple syrup. The syrup is vital here to ensure the strawberry layer is “pourable” enough to create that dynamic swirl effect.
Blend until the mixture is a deep, uniform red with no visible seeds or chunks. Sensory Cue: The sound of the blender will change from a high-pitched “crunch” to a low, smooth hum once the micro-crystals have reached the desired velvety consistency.
Step 3: The Dynamic Pour and Assembly
Remove the pineapple-filled glasses from the freezer. Slowly pour the strawberry mixture over the back of a spoon onto the pineapple layer. This technique, used by elite bartenders, breaks the fall of the liquid and prevents the layers from mixing too quickly.
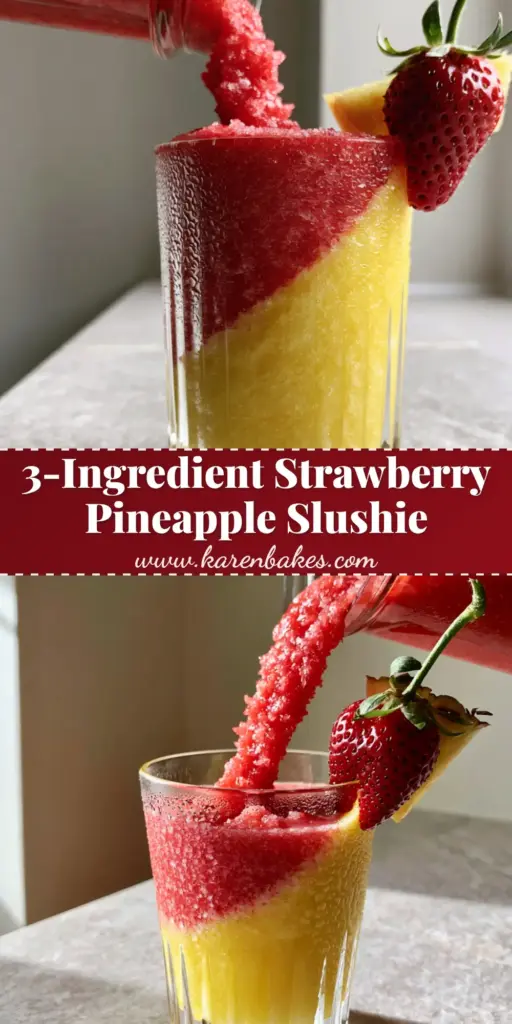
Visual Cue: You want to see the red mixture slightly displace the yellow, creating a soft, marbled transition rather than a muddy blend. The result should be a beautiful dual-toned gradient that glows in natural daylight.
Step 4: Final Garnishing and Presentation
Slide a fresh pineapple wedge onto the rim of the glass. Take a whole strawberry with its green stem still intact and carefully place it on the rim or floating atop the thick slush. Within 60 seconds, you should see moisture and cold condensation glaze the outside of the glass, signaling it is ready to serve.
Expert Tips for Slushie Mastery
- The Pre-Chill Secret: Always chill your glassware in the freezer for 10 minutes before pouring. This preserves the frosty micro-ice crystals and prevents immediate melting.
- Sugar Science: If your slushie feels too “icy” or hard, add a teaspoon of honey or agave. The sugar molecules interfere with ice crystal formation, resulting in a “velvety” mouthfeel.
- Avoid the Dilution Trap: Never use actual ice cubes if you can avoid it. Using 100% frozen fruit ensures your pineapple strawberry slushies stay flavorful until the very last drop.
- The Pouring Technique: For that smartphone-photo “dynamic pour,” ensure your strawberry layer has 5% more liquid than the pineapple layer. This makes it flow better for the camera.
Refreshing Pairings and Summer Menus
These pineapple strawberry slushies are the star of any summer spread. To create a full tropical experience, consider serving them alongside a bright Asian coleslaw or a refreshing summer orzo pasta salad.
If you are hosting a larger party, these slushies act as a perfect non-alcoholic counterpart to a tiki torch cocktail or a classic pineapple mojito. For a salty-sweet contrast, try pairing the frosty fruit flavors with dill pickle saltines or even pickle poppers for a bold flavor profile.
Frequently Asked Questions
Slushies are best served immediately. However, you can blend the fruit and store it in the freezer, then give it a quick 5-second pulse in the blender right before serving to restore the micro-crystal texture.
You can, but you will need to add a significant amount of ice, which will dilute the flavor. For the best ‘velvety’ texture, using pre-frozen fruit is the professional standard.
The key is density and temperature. Blend the pineapple layer thicker (less liquid) and freeze the glass for a few minutes before pouring the strawberry layer slowly over the back of a spoon.
To get those beautiful condensation droplets, make sure your ribbed glass is sparkling clean and dry before filling with the frozen mixture. The temperature difference will naturally create the glaze.
This usually happens if there isn’t enough sugar or if the blender didn’t break down the crystals enough. Ensure you add the simple syrup or agave, as sugar acts as a natural anti-freeze.
The Ultimate Pineapple Strawberry Slushie Recipe
Pineapple Strawberry Slushies: The Ultimate Dual-Layered Frosty Refresher
Ingredients
Equipment
Method
- Combine frozen pineapple, 1/4 cup pineapple juice, and half the lime juice in a blender. Blend until a thick, yellow 'soft-serve' consistency forms.
- Pour the pineapple mixture into two ribbed glasses, filling them halfway. Place in the freezer while preparing the next layer.
- Rinse blender. Combine frozen strawberries, remaining juice, simple syrup, and remaining lime juice. Blend until velvety and smooth.
- Slowly pour the strawberry mixture over the pineapple layer using a spoon to create a swirled, dual-toned effect.
Notes
Use 100% frozen fruit rather than ice cubes to prevent the flavor from diluting.
Closing & Call to Action
Creating professional-grade pineapple strawberry slushies is all about respecting the fruit and mastering the freeze. With the dual-layered visual and the velvety micro-ice texture, this recipe is guaranteed to be your new summer go-to. Whether you are prepping for an Easter Sunday celebration or a backyard BBQ, these drinks bring the tropical vacation right to your kitchen.
If you enjoyed this recipe, please leave a comment below and let us know how your layers turned out! Don’t forget to save this to your favorite drink boards on Pinterest so you can find it all summer long.