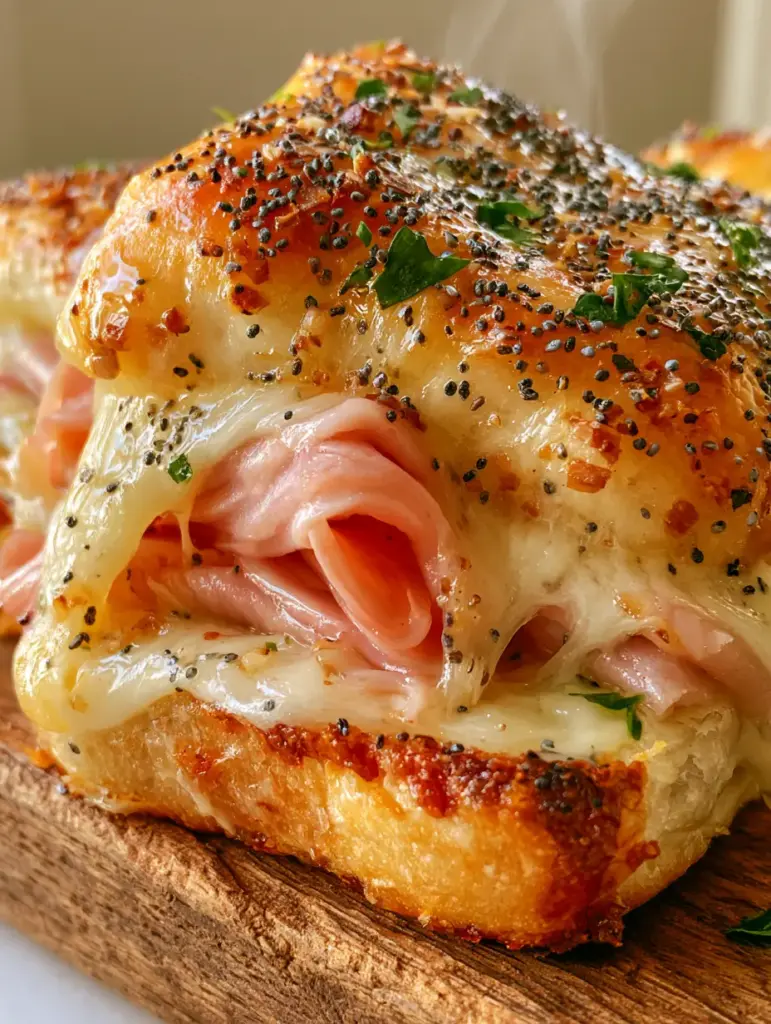
When it comes to crowd-pleasing appetizers, few dishes command a room quite like these hot roll sandwiches. Imagine a tray of golden-brown, buttery Hawaiian rolls, their tops shimmering with a savory glaze and their interiors bursting with ribbons of sweet honey ham and gooey Swiss cheese.
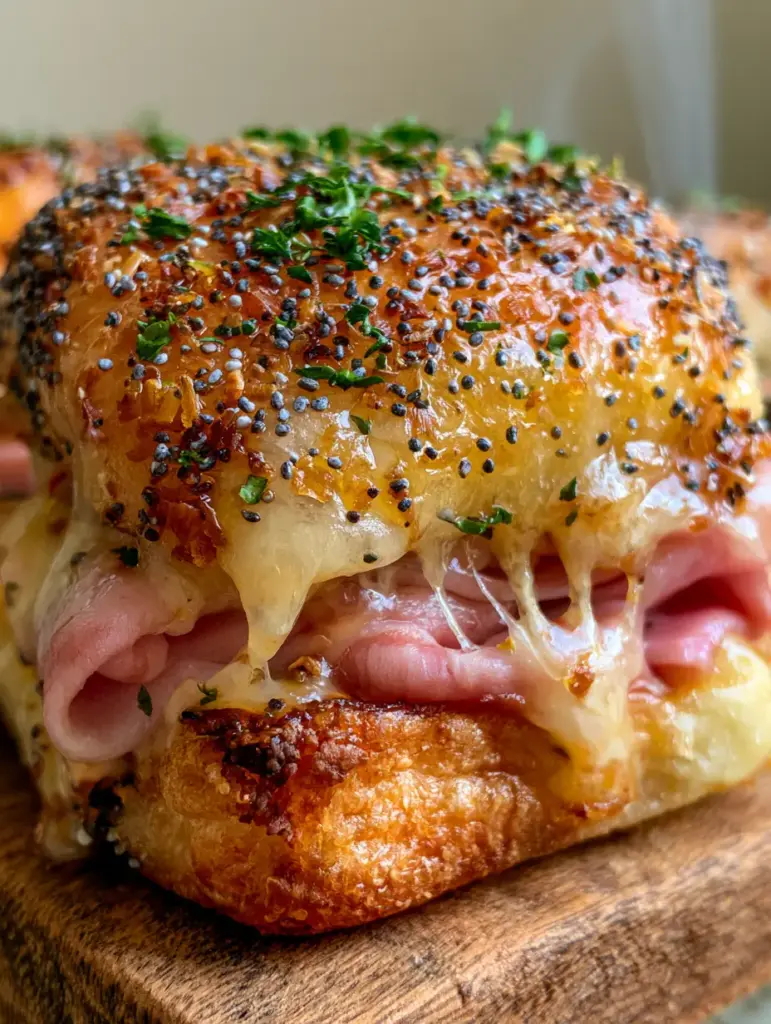
This isn’t just a snack; it’s a textural masterpiece. The macro-level detail of a perfectly executed slider reveals a bottom edge that is audibly crispy, a middle layer of molten cheese that stretches into delicate strings, and a top bun infused with the aromatic punch of dried onion and poppy seeds.
Whether you are hosting a high-stakes game day or a casual family brunch, mastering the art of the hot roll sandwiches ensures you are serving more than just food—you are serving a sensory experience. From the first wisp of steam that rises as you pull them apart to the final salty-sweet bite, these sliders are designed to be the highlight of your table.
The Visual Allure: Why These Sliders Stand Out
- Perfectly Golden-Brown Crust: Achieving that deep, toasted color requires a specific ratio of butter to heat, ensuring a crunch that is never soggy.
- Ribboned Honey Ham: By folding thin-sliced ham into delicate ribbons rather than laying it flat, we create air pockets that trap heat and melted cheese.
- Swiss Cheese Strings: High-quality Swiss provides those iconic “melted ribbons” that look just as good as they taste, especially when paired with a wisp of steam.
- Savory Seeded Glaze: A heavy sprinkling of poppy seeds, minced dried onions, and fresh parsley creates a high-definition texture on every single bun.
- Contrast in Texture: The soft, pillowy interior of the Hawaiian roll contrasts against the crispy, toasted bottom edge for the ultimate mouthfeel.
The Anatomy of a Perfect Hot Roll Sandwich
To recreate the exact visual and flavor profile of these hot roll sandwiches, every ingredient must serve a specific culinary purpose. We are building layers of flavor that work in harmony with the heat of the oven.
Sweet Hawaiian Rolls: You will need 1 package (12 rolls) of these iconic buns. Their inherent sweetness provides the perfect canvas for the salty ham and savory glaze.
Thin-Sliced Honey Ham: Use 1 lb (450g) of deli-thin honey ham. The “honey” element is crucial as the sugars slightly caramelize during the baking process, enhancing the “toasted” visual.
Swiss Cheese Slices: Approximately 8 oz (225g) of Swiss cheese, sliced thin. Swiss is chosen for its low melting point and its ability to form those beautiful, stringy cheese pulls seen in high-end food photography.
Unsalted Butter: 1/2 cup (115g) of melted butter serves as the vehicle for our aromatics. It penetrates the top of the bun while also crisping the bottom edge.
Poppy Seeds: 1 tbsp (9g) of poppy seeds adds a nutty flavor and a distinct “speckled” visual texture that is characteristic of classic hot roll sandwiches.
Minced Dried Onion: 1 tbsp (10g) of dried onion provides a concentrated savory crunch that fresh onions simply cannot replicate in this short baking window.
Fresh Parsley: 1 tbsp (4g) of finely chopped fresh parsley is the finishing touch. This provides the “bright green flakes” that contrast beautifully against the golden-brown bread.
Worcestershire Sauce & Dijon Mustard: 1 tsp (5ml) of each adds a hidden layer of umami. These are “invisible ingredients” that darken the glaze slightly, helping achieve that deep golden hue.
Essential Tools for Slider Success
To achieve the “handheld smartphone photo” aesthetic, you need the right tools to manage the heat and texture. A standard 9×13 inch (23x33cm) baking pan is ideal for keeping the rolls snug, which helps them rise rather than spread.
Using a serrated bread knife is non-negotiable. You need to slice the entire slab of rolls horizontally in one clean motion to ensure the “bottom edge” remains structurally sound and ready for crisping.
Finally, a pastry brush is your best friend. It allows you to paint the butter glaze evenly into every crevice of the rolls, ensuring the minced onions and poppy seeds are distributed perfectly for that macro-photo finish.
Mastering the Build: Step-by-Step Instructions
Phase 1: Preparing the Foundation
Preheat your oven to 350°F (175°C). While the oven reaches temperature, use your serrated knife to slice the 12-pack of Hawaiian rolls in half horizontally. Do not pull the rolls apart yet; keep the slab intact to maintain the structure of your hot roll sandwiches.
Place the bottom half of the rolls into your baking dish. For an extra-crispy bottom that isn’t soggy, brush a tiny amount of melted butter directly onto the pan or use a sheet of parchment paper. This creates the “perfectly golden-brown, crispy texture” mentioned in our visual blueprint.
Phase 2: Layering the Ribbons and Ribbons
Now, begin layering your Swiss cheese. Place half of the cheese (4 oz / 112g) directly onto the bottom buns. This acts as a moisture barrier between the bread and the ham.
Take your thin-sliced honey ham and “ribbon” it. Instead of laying the slices flat, fold each slice loosely and place it onto the cheese. This technique creates height and ensures that when you bite into the hot roll sandwiches, the ham feels light and airy rather than dense.
Top the ham with the remaining Swiss cheese. This “double cheese” method ensures that the ham is completely encased in gooey goodness, leading to those signature “strings of melted Swiss cheese” that look so appetizing.
Phase 3: The Ultimate Savory Butter Glaze
In a small microwave-safe bowl, melt your 1/2 cup (115g) of butter. Whisk in the poppy seeds, minced dried onion, Dijon mustard, and Worcestershire sauce. The mixture should look dark and concentrated.
Place the top bun slab over the cheese. Using your pastry brush, generously coat the tops of the rolls with the butter mixture. Ensure the minced onions and poppy seeds are heavily concentrated on the surface. Save your fresh parsley for the post-bake garnish to keep its color vibrant.
Phase 4: The Science of the Bake
Cover the pan loosely with aluminum foil. This allows the cheese to melt thoroughly without the tops of the rolls burning. Bake for 10-12 minutes.
Remove the foil and bake for an additional 5-8 minutes. During this time, the “shimmering melted butter” will toast the bread. Watch for a visual change: the buns should transition from a pale yellow to a deep, rustic golden-brown. Look for the cheese to start “dripping slightly” from the sides.
Phase 5: The Finishing Touches
Once removed from the oven, immediately sprinkle the chopped fresh parsley over the hot buns. The residual heat will wake up the oils in the parsley, releasing a fresh aroma. Let the hot roll sandwiches rest for 3-5 minutes. This resting period is critical; it allows the cheese to set just enough so that it stays in the sandwich when sliced, while still being hot enough to produce a wisp of steam.
Secrets to Preventing Soggy Sandwiches
The biggest enemy of the baked slider is a soggy bottom. To prevent this, professional chefs often “blind bake” the bottom half of the rolls for 5 minutes before adding any toppings. This creates a toasted crust that prevents the ham juices from soaking into the bread.
Additionally, always pat your honey ham dry with a paper towel before layering. Deli meats are often packed in a light brine, and this excess moisture is what often ruins the texture of hot roll sandwiches.
Perfect Pairings for Your Savory Sliders
While these sliders are a meal in themselves, pairing them with the right side dish can elevate the entire experience. A crisp, acidic salad is the perfect foil for the rich, buttery profile of the ham and cheese.
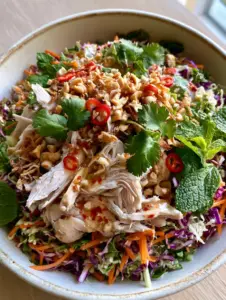
For a light lunch, try serving these alongside a fresh side salad recipe. If you are hosting a larger gathering, a cold pasta dish like this Mexican Ham Pasta Salad provides a great contrast in temperature and flavor.
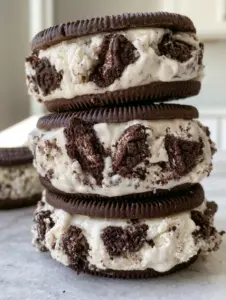
For those who love a bit of heat, pairing these sweet rolls with a Honey Hot Chicken Salad creates a “sweet and spicy” theme that guests will adore. And if you’re looking for a dessert to follow up these savory bites, these Oreo Ice Cream Sandwiches are always a hit.
Storage and Reheating Advice
If you have leftover hot roll sandwiches, wrap them tightly in foil and store them in the refrigerator for up to 2 days. To maintain the “crispy bread texture,” avoid the microwave for reheating.
Instead, place the foil-wrapped sandwiches back in a 350°F (175°C) oven for 10 minutes, then open the foil for the last 2 minutes to recrisp the bun. This ensures the Swiss cheese returns to its gooey state without the bread becoming rubbery.
Common Questions About Baked Sliders
Yes! You can assemble the sandwiches up to 24 hours in advance. Keep the glaze separate and brush it on just before baking to ensure the bread doesn’t absorb too much liquid while sitting.
Dried minced onion is preferred for this recipe because it provides a concentrated flavor and stays crunchy. Fresh onion contains moisture that can make the bun tops soft rather than toasted.
While Hawaiian rolls are the classic choice for their sweetness and size, you can use any small dinner rolls or slider buns, though you may need to adjust the butter glaze salt levels.
To prevent sogginess, pat the ham dry with paper towels to remove excess moisture and pre-toast the bottom half of the rolls in the oven for 5 minutes before adding any toppings.
Swiss cheese is traditional for its flavor, but for the best ‘ribbon’ effect and meltability, use a high-quality Gruyère or a combination of Swiss and Provolone.
The Ultimate Hot Ham and Cheese Slider Recipe
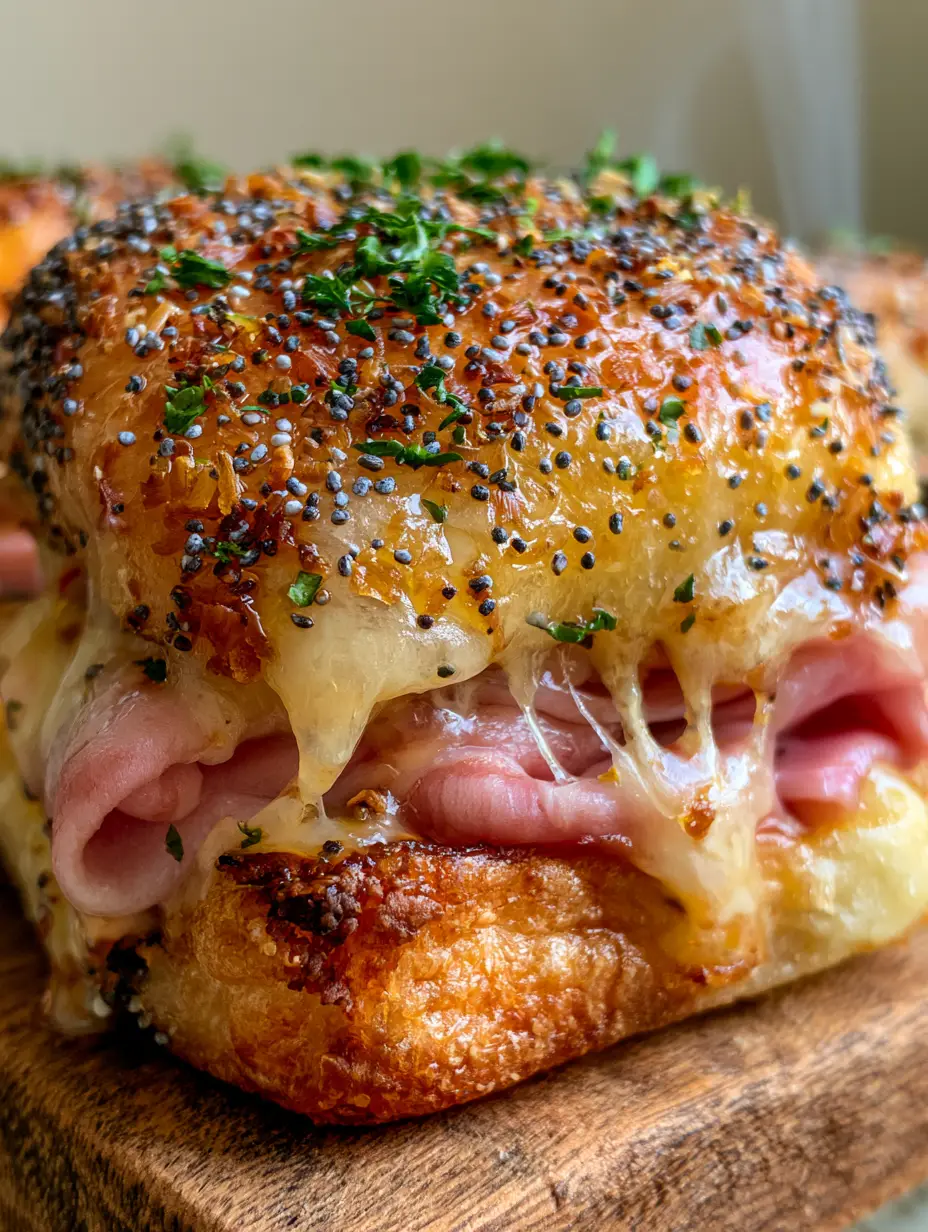
Hot Roll Sandwiches with Honey Ham and Melted Swiss Cheese
Ingredients
Equipment
Method
- Preheat oven to 350°F (175°C). Slice the slab of Hawaiian rolls in half horizontally and place the bottom half in a 9x13 inch baking dish.
- Place half of the Swiss cheese on the bottom buns. Ribbon the honey ham by folding slices and placing them over the cheese, then top with remaining Swiss cheese.
- Whisk melted butter, poppy seeds, dried onion, mustard, and Worcestershire sauce. Place top buns over the cheese and brush generously with the glaze.
- Cover the dish with foil and bake for 10-12 minutes until cheese begins to melt.
- Remove foil and bake for another 5-8 minutes until tops are golden-brown and crispy. Garnish with fresh parsley and serve hot.
Notes
Pre-toasting the bottom buns for 5 minutes before adding toppings ensures a maximum crunch.

Join the Community!
I hope these hot roll sandwiches become a staple in your kitchen! There is nothing quite like the smell of buttery onions and toasted bread wafting through the house. If you made these, I want to hear about it!
Leave a comment below and tell me—did you get that perfect cheese pull? Don’t forget to follow me on Pinterest for more visually stunning recipe inspiration. Share your photos and tag me so I can see your golden-brown masterpieces!