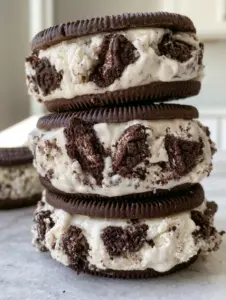
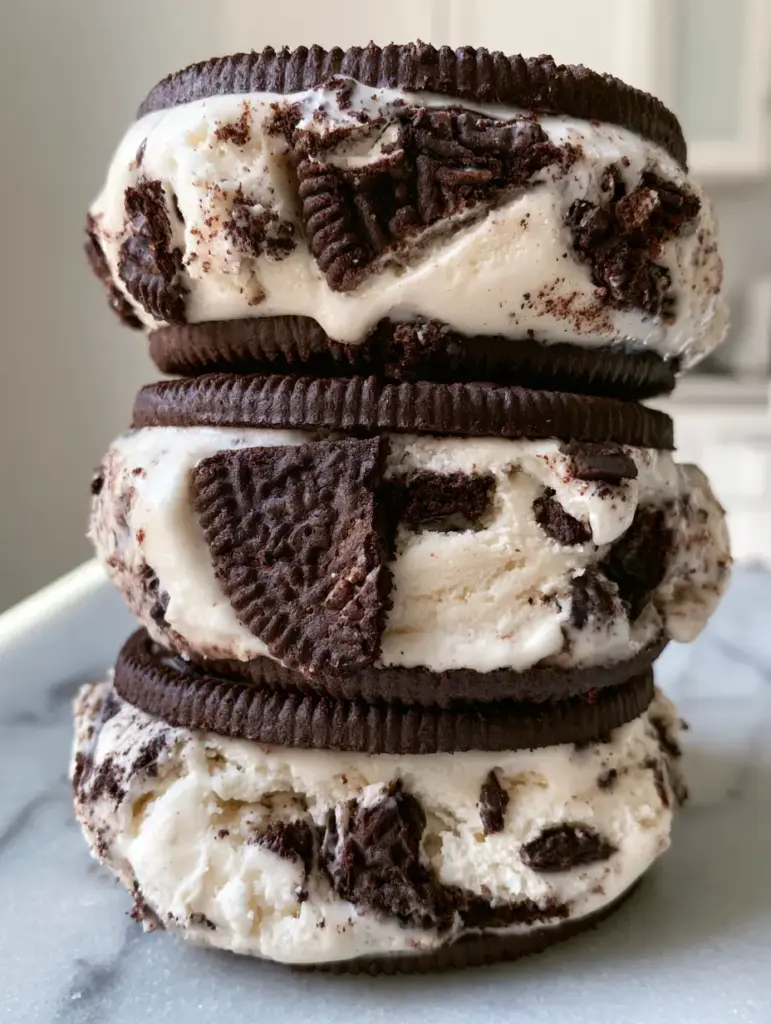
Oreo ice cream sandwiches are the undisputed heavyweight champion of the freezer aisle, but the store-bought versions often lack that soul-satisfying crunch and the towering, velvety center we crave. Imagine a vertical stack of these handheld delights resting on a cool marble countertop, each featuring a massive 2-inch (5cm) layer of dense vanilla cream. The dark, embossed chocolate cookies provide a bitter-sweet snap that perfectly offsets the marbled interior, where large, jagged Oreo chunks are suspended in a sea of white frozen cream.
To recreate the artisanal look of a high-end creamery, we are focusing on three primary ingredients with a forensic attention to texture. We want those soft, melty edges that glisten under natural daylight and a coating of fine cookie dust that clings to the sides of the ice cream. This isn’t just a snack; it’s a culinary architecture project that results in the most photogenic and delicious frozen treat you have ever held in your hand.
The Secret to That Signature High-Volume Crunch and Creaminess
- Structural Integrity: Using a specialized molding technique to achieve a precise 2-inch (5cm) thick ice cream layer that doesn’t collapse.
- Textural Contrast: Folding in hand-broken, jagged cookie pieces to ensure every bite has a “snap” against the velvety vanilla base.
- The “Dusting” Finish: Rolling the edges in pulverized chocolate cookie crumbs to create a porous, professional finish.
- Embossed Aesthetics: Utilizing classic dark chocolate sandwich cookies to provide that iconic visual pattern and deep cocoa flavor.
The Essential Elements for Epic Oreo Ice Cream Sandwiches
Selecting the right components is vital for both the flavor profile and the forensic visual accuracy we are aiming for. Each ingredient serves a specific structural purpose in the freezing process.
Dark Chocolate Embossed Sandwich Cookies: You will need approximately 24-30 standard-sized chocolate sandwich cookies. These act as the “bread” of our sandwich, providing the structural base and the recognizable embossed pattern seen in professional food photography.
Premium Vanilla Bean Ice Cream: Start with 1.5 quarts (1.4L) of high-quality, dense vanilla ice cream. A higher milk fat content is necessary here to achieve that “velvety white” appearance and a slow melt rate that creates those beautiful melty edges without turning into a puddle.
Additional Whole Cookies for “The Fold”: Set aside 10-12 extra cookies to be broken by hand. Unlike machine-processed crumbles, large jagged chunks provide the marbled “porous texture” that makes the center visually striking when sliced.
Fine Cookie Dust: You will need about 1/2 cup (50g) of finely pulverized cookie crumbs. These are pressed into the sides of the 2-inch (5cm) ice cream layer to add a gritty, professional finish that mimics artisan shop styles.
Foundational Salt: A tiny pinch (approx. 1/8 tsp) of fine sea salt folded into the softened ice cream. Salt lowers the freezing point slightly, contributing to that “soft sheen” and enhancing the deep chocolate notes of the cookies.
Precision Tools for a Professional Stack
To get that perfectly vertical, 2-inch (5cm) thick stack, you need more than just a spoon. You will need an 8×8 inch (20x20cm) square baking pan to act as your mold for the ice cream slab. High-quality parchment paper is non-negotiable for easy removal without tearing the cream.
A 2-inch (5cm) round biscuit cutter or a sturdy drinking glass with a thin rim is required to punch out the ice cream discs. This ensures each sandwich is a perfect geometric match for the cookies. Finally, a food processor or a heavy rolling pin will help you achieve the “fine cookie dust” required for the edges.
The Architecture of the 2-Inch Frozen Core
Preparing the High-Contrast Marbled Filling
Start by letting your vanilla ice cream sit at room temperature for about 10-15 minutes until it reaches a “soft serve” consistency. Avoid melting it completely, as this will lead to icy crystals later. While the ice cream softens, take your 10-12 extra cookies and break them by hand into large, irregular, jagged pieces.
Fold these chunks gently into the softened vanilla base. You are looking for a marbled effect, not a uniform grey mixture. The goal is to see distinct “islands” of dark chocolate against the white cream. If you are planning a full dessert spread, these sandwiches pair beautifully after a lighter meal like our Vietnamese chicken salad.
Molding and Freezing for Maximum Vertical Height
Line your square baking pan with parchment paper, leaving an overhang on the sides. Spread the marbled ice cream mixture into the pan, smoothing the top with an offset spatula. Ensure the depth is exactly 2 inches (5cm) by using a ruler; this height is what creates that impressive handheld “vertical stack” look.
Place the pan in the coldest part of your freezer for at least 6 hours, though overnight is preferred. The ice cream must be rock-hard before you attempt to cut it. This density is what creates the “porous texture of frozen cream” mentioned in our visual blueprint.
Cutting and Final Construction
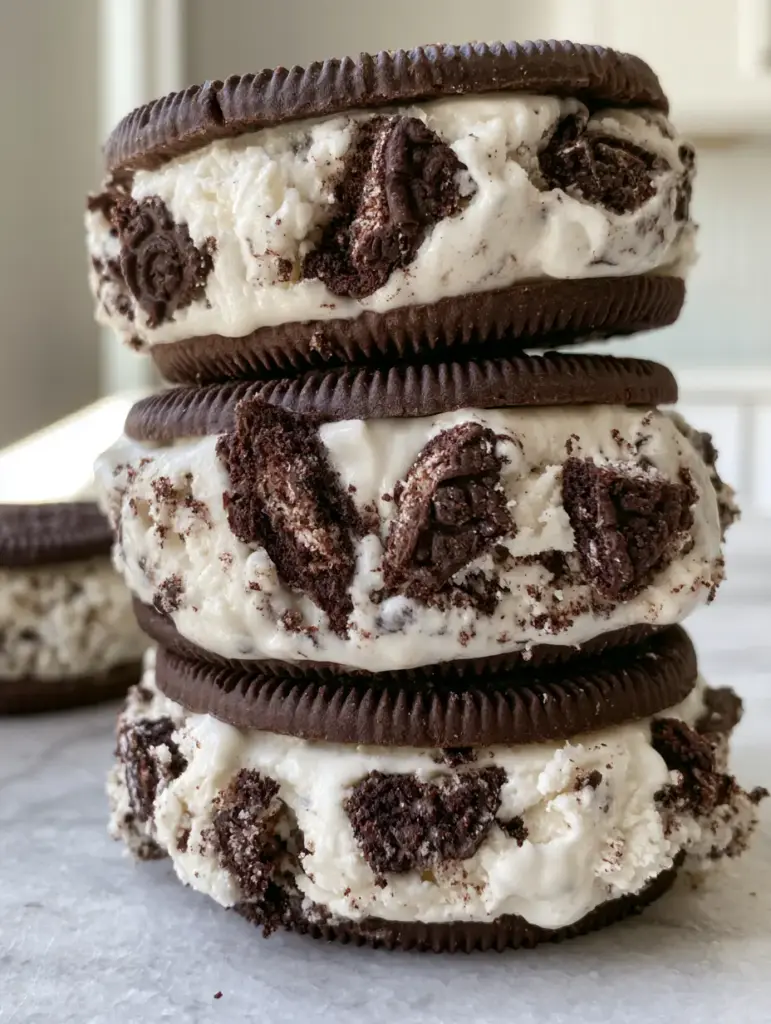
Once the slab is frozen solid, lift it out using the parchment paper handles. Use your circular cutter to punch out discs. Quickly place one disc between two embossed chocolate cookies. Press down gently until the ice cream just begins to bulge toward the edges—this is where the “soft melty sheen” will eventually develop.
Immediately roll the exposed sides of the ice cream in your fine cookie dust. The dust should stick to the slightly softened edges of the ice cream, creating a textured, professional border. If you enjoy this level of detail in dessert construction, you might also love our white chocolate raspberry poke cake for your next gathering.
Expert Tips for Success
- Temperature Control: Freeze your cookies for 20 minutes before assembly. This prevents the warmth of the cookie from melting the ice cream too quickly during the “dusting” phase.
- The “Clean Cut” Hack: Dip your biscuit cutter in boiling water and wipe it dry between every single cut. This ensures the 2-inch (5cm) sides of the ice cream remain perfectly smooth and vertical.
- Visual Cues: Look for a “matte” finish on the ice cream as you pull it from the freezer; as it sits for 60 seconds, it should transition to a “melty sheen” which is the perfect moment for photography.
- Storage Hint: If you are making these ahead for a party involving various bean salads or hearty summer sides, wrap each sandwich individually in plastic wrap to prevent freezer burn.
Optimal Storage and Serving Conditions
These Oreo ice cream sandwiches should be stored in an airtight container in the freezer. For the best texture, eat them within two weeks. Beyond that, the cookies may begin to lose their crispness and become overly soft.
When serving, let the sandwiches sit at room temperature for exactly 2-3 minutes. This allows the edges to soften just enough to create that “velvety” mouthfeel while the center remains dense and cold. This small wait time is the difference between a “good” dessert and a “professional” one.
What to Serve With This Frozen Delight
Since these sandwiches are rich and chocolatey, they serve as a fantastic palate cleanser after savory, salty dishes. They are the perfect follow-up to a comforting tuna pasta bake recipe or a creamy tuna tetrazzini. The cold, crisp nature of the sandwich cuts through the richness of pasta beautifully.
If you’re hosting a casual game night, consider serving these alongside some cold chip dip recipes or a refreshing cucumber dip. The contrast between the savory dips and the sweet, dark chocolate cookies makes for a memorable snacking experience.
Frequently Asked Questions
Yes, you can cut the frozen ice cream slab into squares using a sharp knife, though they won’t match the circular shape of the cookies as perfectly as a round cutter would.
You can, but the texture is often too uniform. Making your own ‘dust’ in a food processor allows for a mix of fine powder and small crunchy bits which looks more artisanal.
The trick is to roll the sandwiches in the dust immediately after assembly when the very outer edge of the ice cream disc has slightly softened from the warmth of your hands.
To maintain a crunch, freeze the cookies before assembly and ensure the ice cream slab is rock-hard. For long-term storage, wrap each sandwich tightly in plastic wrap to keep moisture out.
If the ice cream is too dense, let the sandwiches sit at room temperature for 2-3 minutes before eating. This allows the ‘melty sheen’ to develop, softening the texture significantly.
The Ultimate Three-Ingredient Oreo Ice Cream Sandwiches
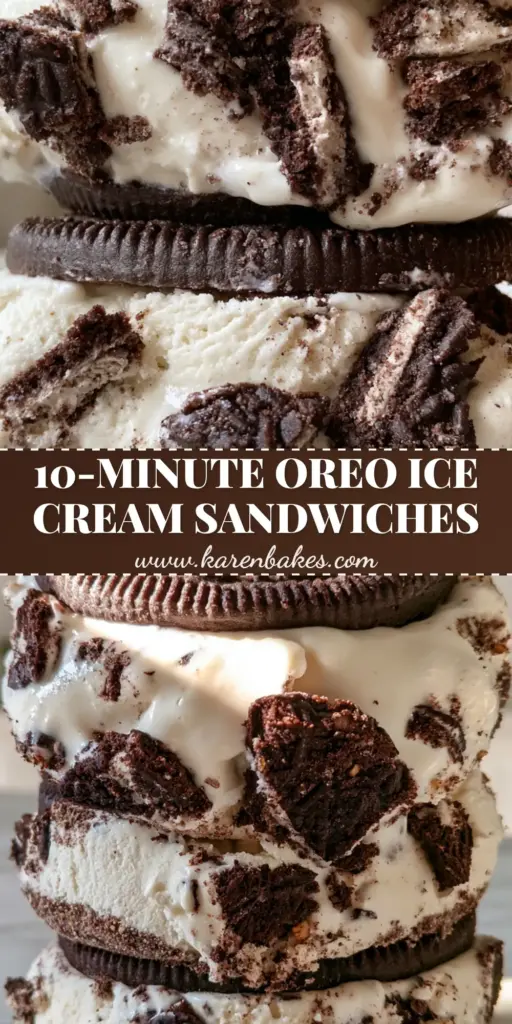
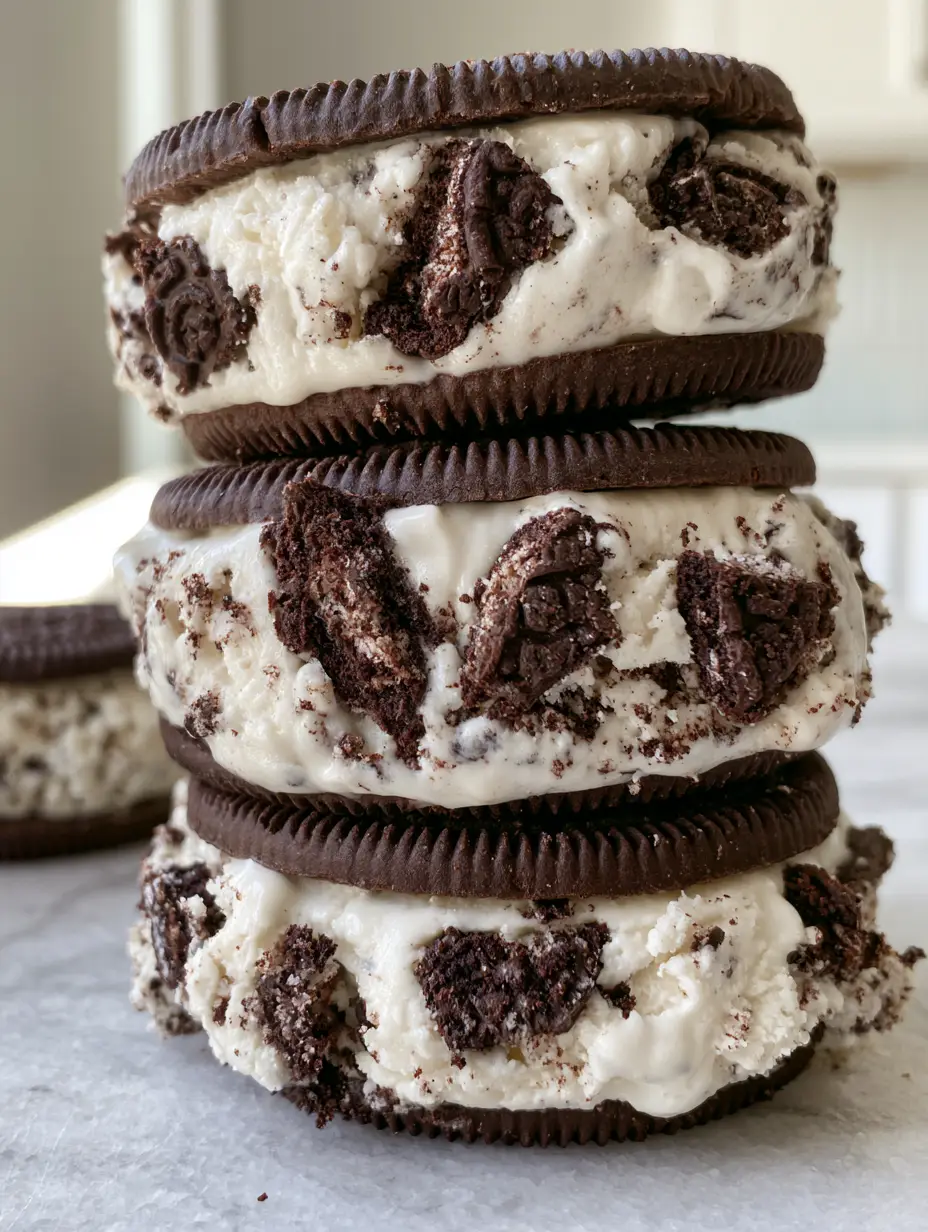
Oreo Ice Cream Sandwiches: The Ultimate 2-Inch Thick Homemade Recipe
Ingredients
Equipment
Method
- Allow vanilla ice cream to sit at room temperature for 10-15 minutes until soft-serve consistency.
- Gently fold in large jagged cookie pieces and sea salt until a marbled appearance is achieved.
- Spread the mixture into a parchment-lined 8x8 pan, ensuring it is exactly 2 inches thick.
- Freeze for at least 6 hours until the slab is completely solid and matte in appearance.
- Use a warm circular cutter to punch out discs from the frozen slab.
- Place disc between two cookies, press gently, and roll the sides in fine cookie dust.
Notes
Freeze the cookies before assembly to prevent premature melting.
Closing & Call to Action
Mastering the 2-inch thick Oreo ice cream sandwich is a rite of passage for any serious home cook. The combination of the jagged cookie chunks, the embossed dark chocolate wafers, and that professional dusting of cookie crumbs creates a sensory experience that store-bought brands simply cannot match. Whether you’re serving them on a marble slab for a photo-op or handing them out to eager kids in the backyard, they are guaranteed to be a hit.
Did you manage to get that perfect vertical stack? We want to hear about it! Leave a comment below with your results or any custom twists you added. Don’t forget to follow katie_bites on Pinterest for more visually stunning recipe inspiration and share your creations with our community!