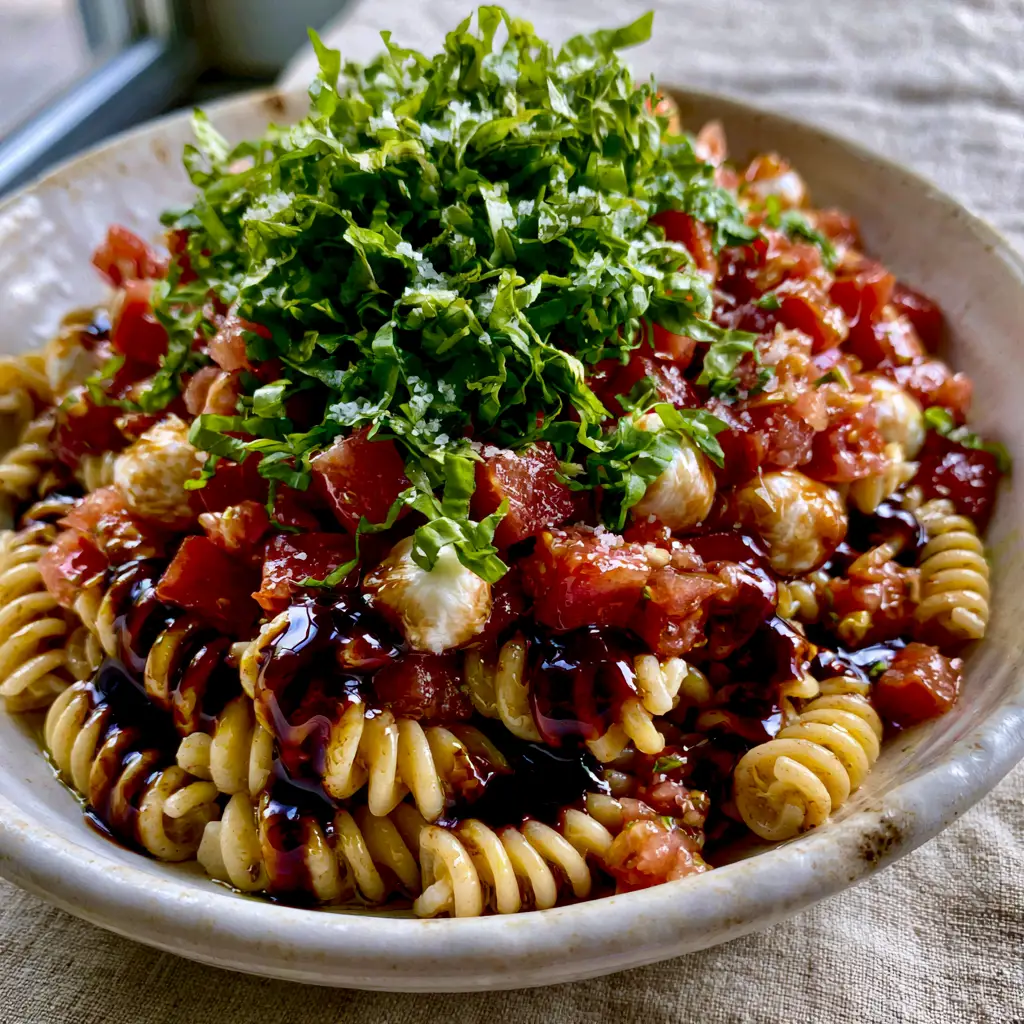
Bruschetta Pasta Salad is the ultimate celebration of sun-drenched flavors, combining the rustic charm of classic Italian antipasto with the satisfying heartiness of a chilled noodle bowl. If you are searching for a recipe that looks exactly like a gourmet Pinterest find, this vibrant bowl of Bruschetta Pasta Salad is your answer. With its foundation of al dente rotini pasta spirals and a heavy garnish of fresh, vibrant green basil chiffonade, this dish is designed to be the star of every potluck and summer gathering.
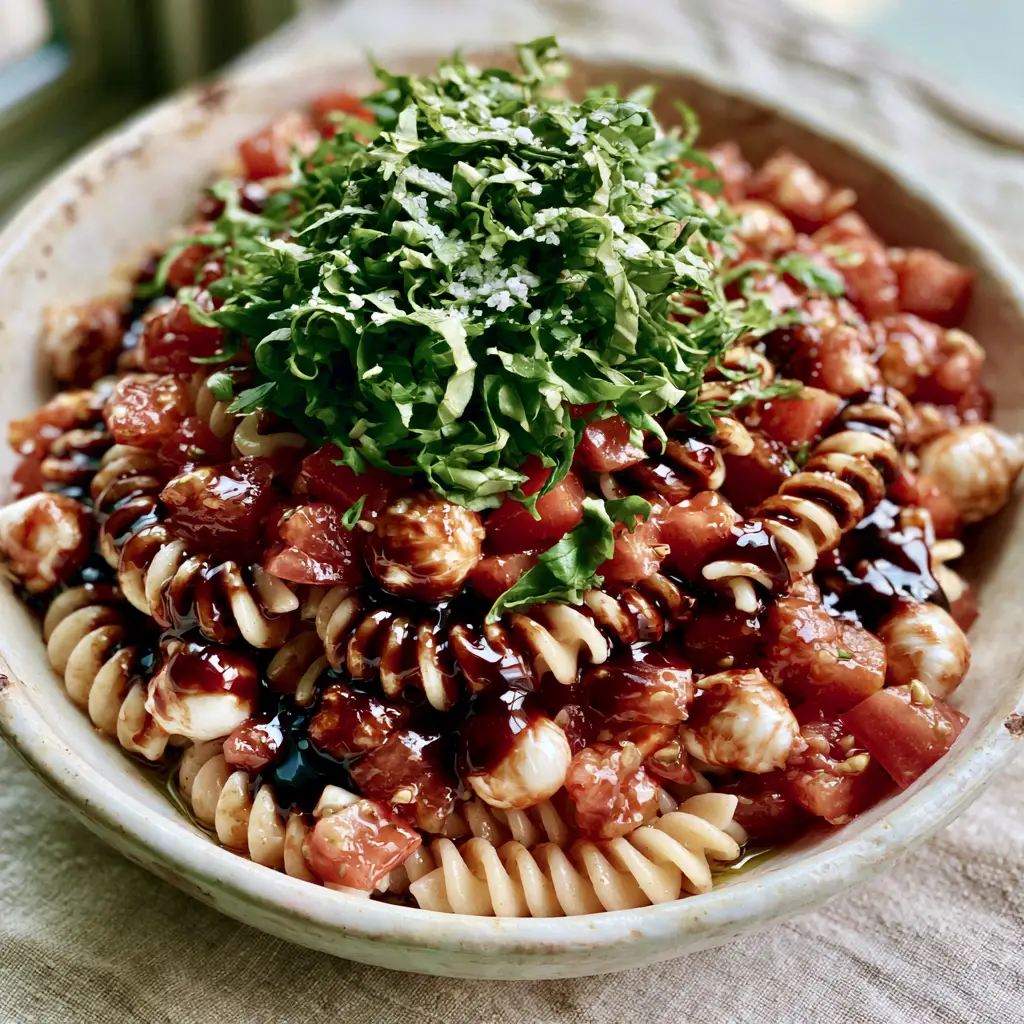
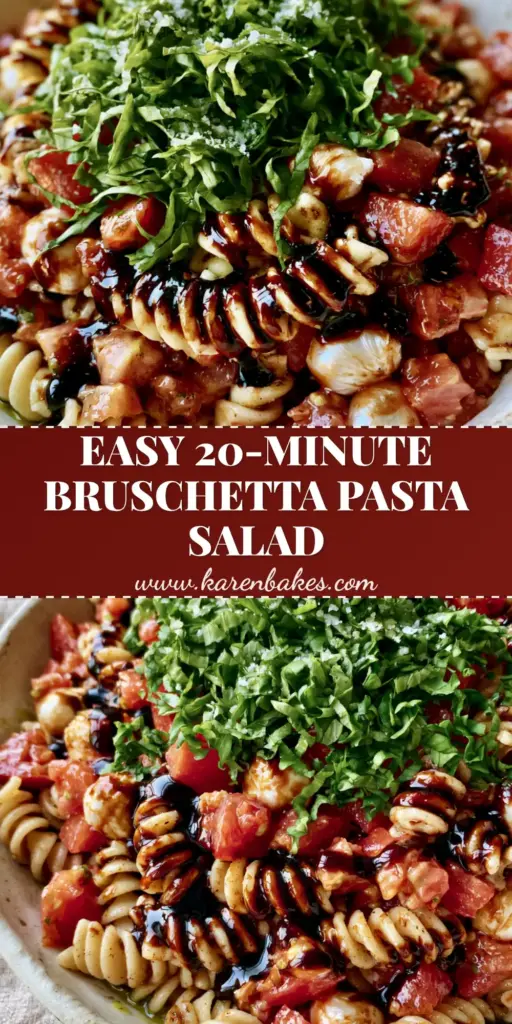
The beauty of this Bruschetta Pasta Salad lies in its simplicity and high-quality ingredients. We aren’t just making a salad; we are building a sensory experience. Imagine pearlescent white mini mozzarella balls nestled against diced bright red vine-ripened tomatoes, all brought together by a thick, glossy, dark mahogany balsamic glaze that clings to every single pasta ridge.
Why You Will Crave This Vibrant Bruschetta Pasta Salad
- Explosion of Textures: From the firm bite of the al dente rotini to the creamy, soft mini mozzarella pearls, every forkful offers a new sensation.
- Visual Masterpiece: The contrast between the bright red tomatoes, white mozzarella, and deep green basil makes this a “stop-the-scroll” recipe for your social feed.
- Umber-Rich Balsamic Glaze: A generous drizzle of thick balsamic glaze adds a sweet and tangy finish that traditional vinaigrettes simply can’t match.
- Quick & Versatile: This recipe transitions perfectly from a light lunch to a crowd-pleasing side for grilled proteins.
If you love this flavor profile, you should also check out our Italian antipasto pasta salad or perhaps a zestier lemon parmesan pasta salad for your next meal prep session.
The Fresh Ingredients for the Perfect Bruschetta Pasta Salad
To achieve the forensic visual accuracy seen in our photos, you must select the freshest produce available. Each component plays a specific role in the culinary science of this dish.
1 lb (450g) Rotini Pasta: The spiral shape is essential. The ridges act as “sauce traps” for the olive oil and the thick mahogany balsamic glaze.
2 cups (300g) Vine-Ripened Tomatoes: Diced raw tomatoes provide the acidic pop necessary to balance the richness of the cheese. Use vine-ripened for the best sugar-to-acid ratio.
8 oz (225g) Mini Mozzarella Pearls: These pearlescent white balls offer a mild, creamy flavor that doesn’t overwhelm the fresh herbs.
1/2 cup (15g) Fresh Basil: Cut into a fine basil chiffonade, this provides the aromatic top note that defines a true bruschetta profile.
1/4 cup (60ml) Extra Virgin Olive Oil: This acts as the primary lubricant, ensuring the pasta doesn’t stick and carries the flavor of the sea salt across the palate.
3 tbsp (45ml) Balsamic Glaze: Ensure you use a glaze (reduction), not a thin vinegar. It needs to be thick enough to cling to the pasta spirals.
Coarse Sea Salt & Cracked Black Pepper: Use a dusting of coarse sea salt for that final crunchy mineral hit that elevates raw tomatoes to something spectacular.
Step-By-Step: Crafting Your Bruschetta Pasta Salad
1. Achieving the Perfect Al Dente Noodle
Bring a large pot of heavily salted water to a rolling boil. Add your 1 lb (450g) of rotini pasta. Boil for approximately 8-10 minutes, or until just al dente. You want the pasta to have a firm “bite” so it holds up against the moisture of the tomatoes. Once finished, drain and immediately toss with 2 tablespoons (30ml) of extra virgin olive oil while still warm. This creates a protective coating that prevents the noodles from absorbing too much dressing later.
2. Prepping the Bruschetta Components
While the pasta cools slightly, dice your vine-ripened tomatoes. Ensure they are in small, uniform pieces to mimic traditional bruschetta topping. Drain the mini mozzarella pearls from their liquid. For the basil, stack the leaves, roll them tightly like a cigar, and slice thin ribbons to create a heavy garnish of fresh basil chiffonade.
3. The Flavor Layering Process
In a rustic off-white ceramic bowl, combine the cooled rotini, diced tomatoes, and mozzarella pearls. Add the remaining olive oil and a generous dusting of coarse sea salt and cracked black pepper. Toss gently with large spoons. You want to see the vibrant colors mingling without bruising the delicate basil ribbons.
4. The Glossy Finishing Touch
Just before serving, take your balsamic reduction and create a thick balsamic glaze drizzle across the top of the bowl. Aim for a cross-hatch pattern or a swirling motion. The glaze should look dark and mahogany against the white pearls and red tomatoes. Finish with the basil chiffonade scattered over the top for maximum aromatic impact.
For more inspiration on unique dressings, explore our creamy tuscan pasta salad or the refreshing strawberry watermelon salad for a fruit-forward twist.
Expert Tips for Success
- Room Temperature Serving: While many pasta salads are served ice-cold, the Bruschetta Pasta Salad tastes best at room temperature. This allows the olive oil and balsamic glaze to stay fluid and aromatic.
- Salt the Tomatoes: If you have an extra 5 minutes, toss the diced tomatoes with a pinch of sea salt in a separate small bowl first. This draws out their juices, which mix with the olive oil to create a natural dressing.
- Pasta Choice: If you can’t find rotini, fusilli or farfalle (bowties) are excellent substitutes as they also feature crevices to catch the glaze.
- Avoid Soggy Basil: Never add the basil chiffonade until the very last second. Fresh basil oxidizes (turns black) quickly when exposed to air and acid.
Storage and Meal Prep Advice
The Bruschetta Pasta Salad is best enjoyed the day it is made. However, you can store leftovers in an airtight container in the refrigerator for up to 2 days. Be aware that the pasta will absorb some of the oils and the balsamic glaze may bleed into the mozzarella, turning it a slight tan color. This does not affect the flavor, but it will change the visual recipe blueprint.
Can you freeze it? We do not recommend freezing this salad. The fresh tomatoes and mozzarella will lose their structural integrity and become mushy upon thawing.
What to Serve With Bruschetta Pasta Salad
This dish is incredibly versatile. Pair it with grilled balsamic chicken, a crusty baguette with garlic butter, or a light white wine like Pinot Grigio. If you are hosting a large BBQ, it pairs wonderfully alongside a ranch pasta salad for those who prefer creamy options.
Frequently Asked Questions
You can prep the pasta and dice the tomatoes a few hours early, but for the best visual appeal and flavor, wait to add the balsamic glaze and fresh basil until just before serving.
We highly recommend a glaze. Standard balsamic vinegar is too thin and will pool at the bottom of the bowl rather than clinging to the ingredients.
Basil oxidizes quickly once cut. Use a very sharp knife to slice it (chiffonade) and toss it into the salad immediately before eating to keep it vibrant green.
It is best served at room temperature. This keeps the mozzarella pearls soft and the extra virgin olive oil in its liquid, most flavorful state.
Rotini or Fusilli are best because their spiral ridges are designed to catch and hold the balsamic glaze and olive oil, ensuring every bite is flavorful.
The Official Bruschetta Pasta Salad Recipe Card
Bruschetta Pasta Salad: The Ultimate Fresh Summer Side Dish
Ingredients
Equipment
Method
- Cook rotini in salted boiling water until al dente. Drain and toss with 2 tbsp olive oil to prevent sticking.
- In a large bowl, combine the cooled pasta, diced tomatoes, and mozzarella pearls. Add remaining olive oil, salt, and pepper.
- Drizzle with thick balsamic glaze and top with a heavy garnish of fresh basil chiffonade just before serving.
Notes
Toss the pasta with olive oil while warm to ensure even coating.
Join the Katie Bites Community!
Did you make this Bruschetta Pasta Salad? I would love to see how your vibrant bowl turned out! Please save this recipe to your favorite Pinterest board so you never lose it. Follow @katie_bites for more daily recipe inspiration and high-quality culinary guides.
Leave a 5-star rating in the comments below and upload a photo of your creation. Your feedback helps other home cooks find success in their kitchens!