This Gluten-free Hawaiian Chicken is the answer to your weeknight dinner prayers, combining succulent seared chicken breast chunks with a thick, glossy dark amber teriyaki glaze that will make your taste buds sing. If you have been searching for a meal that hits that perfect balance of sweet, savory, and smoky, this vibrant sheet pan wonder is exactly what you need to pin to your “Easy Dinners” board right now.
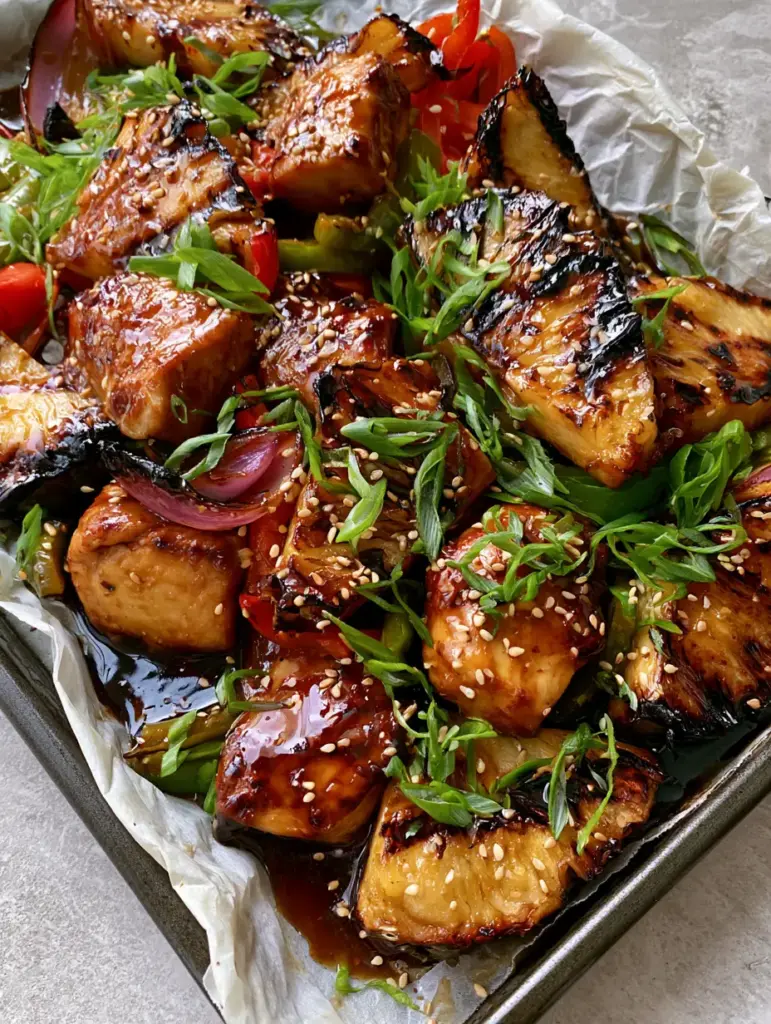
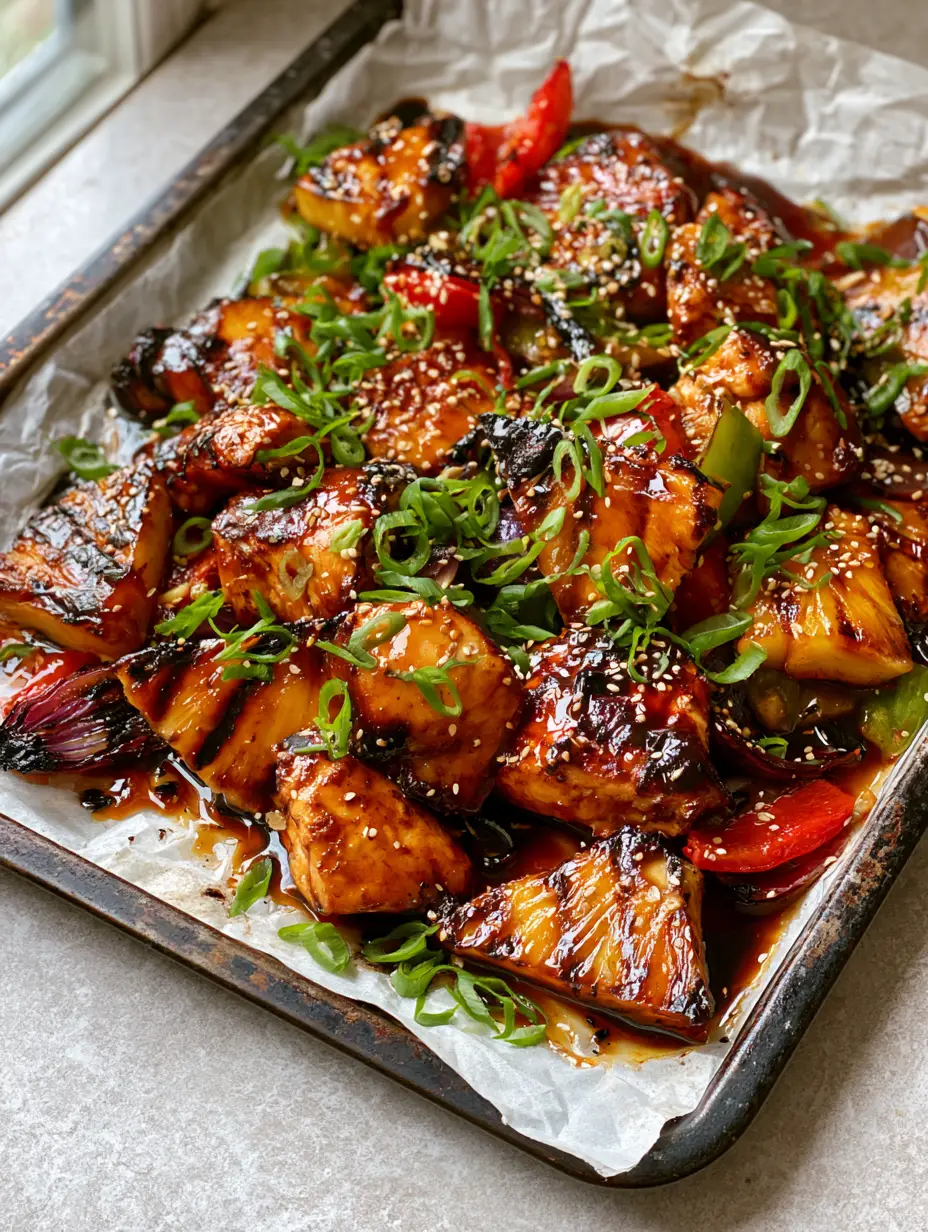
The beauty of this Gluten-free Hawaiian Chicken lies in the contrast of textures: the succulent chunks of chicken paired with thick wedges of fresh pineapple featuring distinct dark brown caramelized grill marks. It’s a restaurant-quality meal made in the comfort of your own kitchen, designed to look just as good as it tastes on a rustic metal sheet pan lined with wrinkled white parchment paper.
Why You Will Love This Vibrant Tropical Dish
- Explosive Visual Appeal: The combination of charred red bell pepper strips and charred green bell pepper strips against the glossy glaze is a feast for the eyes.
- Perfectly Balanced Flavors: The acidity of the pineapple cuts through the rich, salty-sweet teriyaki glaze, while softened red onion petals add a delicate earthy sweetness.
- Gluten-Free & Clean: We use Tamari and fresh aromatics to ensure this Gluten-free Hawaiian Chicken is safe for Celiacs without sacrificing a single drop of flavor.
- Minimal Cleanup: Everything roasts together on a single rustic metal sheet pan, making post-dinner cleanup a total breeze.
If you love the flavor profile of Asian-inspired poultry, you might also enjoy our Japanese chicken meatballs or these incredible garlic parmesan skewers for your next meal prep session.
The Essential Ingredients for Gluten-Free Teriyaki Success
To achieve that thick, glossy, dark amber teriyaki glaze that pools slightly on the wrinkled white parchment paper, you need the right building blocks. Here is what you will need for the best Gluten-free Hawaiian Chicken experience:
The Protein and Produce
Chicken Breast: You will need 1.5 lbs (680g) of boneless, skinless chicken breast cut into 1-inch (2.5cm) succulent chunks. Using breast meat ensures the chicken stays tender while soaking up that glaze.
Fresh Pineapple: Avoid canned if possible! 1 small fresh pineapple, sliced into thick wedges, provides that essential structural integrity for charred edges and caramelized grill marks.
The Pepper Trio: 1 large red bell pepper and 1 large green bell pepper, sliced into charred red bell pepper strips and charred green bell pepper strips, add both color and a smoky sweetness to the dish.
Red Onion: 1 medium red onion, cut into softened red onion petals. As they roast, they lose their bite and become wonderfully jammy.
The Signature Gluten-Free Teriyaki Glaze
Tamari (Gluten-Free Soy Sauce): 1/2 cup (120ml) provides the savory, salty base without the gluten found in traditional soy sauce.
Honey or Brown Sugar: 1/3 cup (80ml) creates the sticky, glossy glisten and helps the chicken and fruit achieve those dark brown caramelized grill marks.
Rice Vinegar: 2 tbsp (30ml) adds the necessary tang to balance the sugar.
Fresh Ginger and Garlic: 1 tbsp (6g) of each, finely grated, provides the aromatic backbone that makes this Gluten-free Hawaiian Chicken smell absolutely incredible as it roasts.
Cornstarch Slurry: 1 tbsp (8g) cornstarch mixed with 1 tbsp (15ml) water. This is the secret to getting a thick amber glaze that “pools slightly” around the chicken chunks.
Step-by-Step Instructions: Mastering the Char
Creating this Gluten-free Hawaiian Chicken is all about managing heat to get those specific char marks while keeping the chicken juicy.
Step 1: The Searing Foundation
Preheat your oven to 425°F (220°C). While the oven heats, set a heavy skillet over medium-high heat with 1 tbsp (15ml) of high-heat oil. Pat your chicken chunks dry—this is vital for a good sear. Sear the chicken for 2-3 minutes per side until you see golden edges. They don’t need to be cooked through yet; the oven will finish the job.
Step 2: Crafting the Glossy Glaze
In a small saucepan, combine the Tamari, honey, rice vinegar, ginger, and garlic. Bring to a simmer over medium heat. Whisk in your cornstarch slurry and continue to whisk until the sauce thickens into a glossy, dark amber teriyaki glaze. It should be thick enough to coat the back of a spoon heavily.
Step 3: The Sheet Pan Arrangement
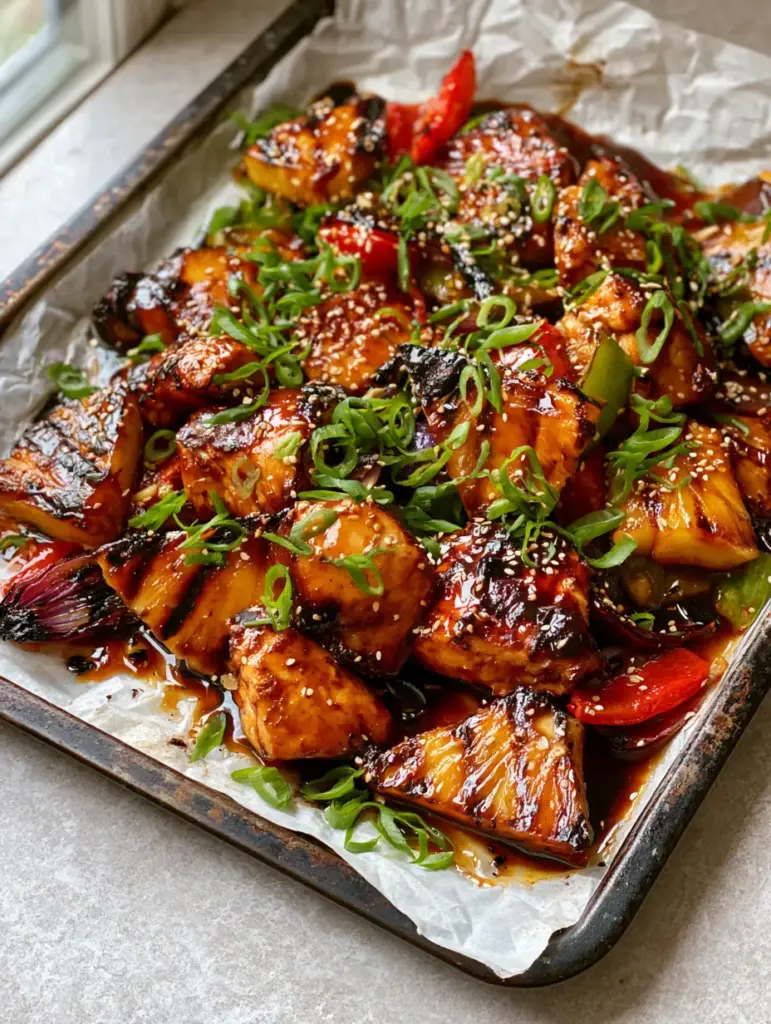
Line a rustic metal sheet pan with wrinkled white parchment paper. Arrange the seared chicken breast chunks, thick pineapple wedges, red and green bell pepper strips, and red onion petals in a single layer. Boldly drizzle two-thirds of the glaze over everything, using a brush to ensure the pineapple wedges are well-coated for maximum caramelization.
Step 4: The High-Heat Roast
Slide the pan into the oven and roast for 12-15 minutes. For those distinct dark brown caramelized grill marks and charred edges, turn the broiler on for the final 2-3 minutes. Watch closely! You want the sugar in the glaze to bubble and darken, creating that glisten on the sauce in the natural morning light.
Step 5: The Finishing Touches
Remove the pan from the oven. The glaze should be pooling slightly on the parchment. Drizzle the remaining glaze over the chicken. Garnish heavily with thinly sliced bright green scallions and a generous dusting of toasted white sesame seeds for that final professional touch.
If you’re looking for a fresh side to pair with this, our shrimp ceviche or a crisp homemade coleslaw makes for a refreshing contrast to the warm, sticky chicken.
Expert Tips for the Perfect Hawaiian Chicken
- Dry the Chicken: Use paper towels to remove excess moisture from the chicken before searing. Moisture is the enemy of a good sear!
- Crowding is the Enemy: If your rustic metal sheet pan is too small, use two pans. If the ingredients are piled on top of each other, they will steam instead of getting those charred edges.
- Fresh vs. Canned Pineapple: Fresh pineapple contains bromelain, which can tenderize the meat, but more importantly, it holds its shape better under high heat than canned rings.
- Sesame Seed Toasting: Briefly toast your white sesame seeds in a dry pan for 30 seconds before garnishing. It unlocks a nutty aroma that complements the teriyaki glaze perfectly.
Storage, Reheating, and Freezing
To Store: Keep leftovers in an airtight container in the refrigerator for up to 4 days. The Gluten-free Hawaiian Chicken actually tastes better the next day as the flavors continue to meld.
To Reheat: For best results, reheat in a skillet over medium heat with a splash of water to loosen the thick amber glaze. You can use a microwave, but the peppers may lose their charred texture.
To Freeze: You can freeze the cooked chicken and pineapple for up to 3 months. However, the bell peppers will become much softer upon thawing. We recommend enjoying this dish fresh for the best textural experience.
What to Serve With Your Sheet Pan Chicken
This Gluten-free Hawaiian Chicken is a complete meal on its own, but it pairs beautifully with a few staples:
- Steamed Jasmine Rice: The perfect vessel to soak up the glossy glaze that pools slightly on the pan.
- Quinoa Salad: For a nutrient-dense option, try serving this alongside our Moroccan quinoa salad.
- Cauliflower Rice: Keep it low-carb by serving the succulent chunks over roasted cauliflower rice.
Frequently Asked Questions
Yes, you can use canned pineapple chunks or rings, but fresh pineapple wedges hold up better under the high heat required to get those distinct caramelized char marks.
Absolutely! Chicken thighs are more forgiving and remain very succulent. Just ensure they are trimmed and cut into uniform pieces for even roasting.
The secret is the cornstarch slurry. Ensure you simmer the sauce after adding the cornstarch until it reaches a dark amber, glossy consistency that coats the back of a spoon.
No, traditional teriyaki sauce contains soy sauce, which is made with wheat. This Gluten-free Hawaiian Chicken uses Tamari to ensure it is 100% gluten-free.
High heat is key! Using a rustic metal sheet pan and finishing the dish under the broiler for 2-3 minutes will provide those beautiful charred red and green pepper strips.
The Ultimate Gluten-free Hawaiian Chicken Recipe
Gluten-free Hawaiian Chicken: The Ultimate Sheet Pan Teriyaki Dinner
Ingredients
Equipment
Method
- Heat oil in a heavy skillet. Sear chicken chunks for 2-3 minutes until edges are golden.
- Simmer Tamari, honey, vinegar, ginger, and garlic. Whisk in cornstarch slurry until thick and glossy.
- Line sheet pan with parchment. Arrange chicken, pineapple, peppers, and onions. Brush with glaze.
- Roast at 425°F (220°C) for 12-15 minutes. Broil for 2 minutes for charred edges.
- Drizzle with remaining glaze, top with scallions and toasted sesame seeds.
Notes
Use fresh pineapple for the best caramelized grill marks.
Save This Recipe to Pinterest!
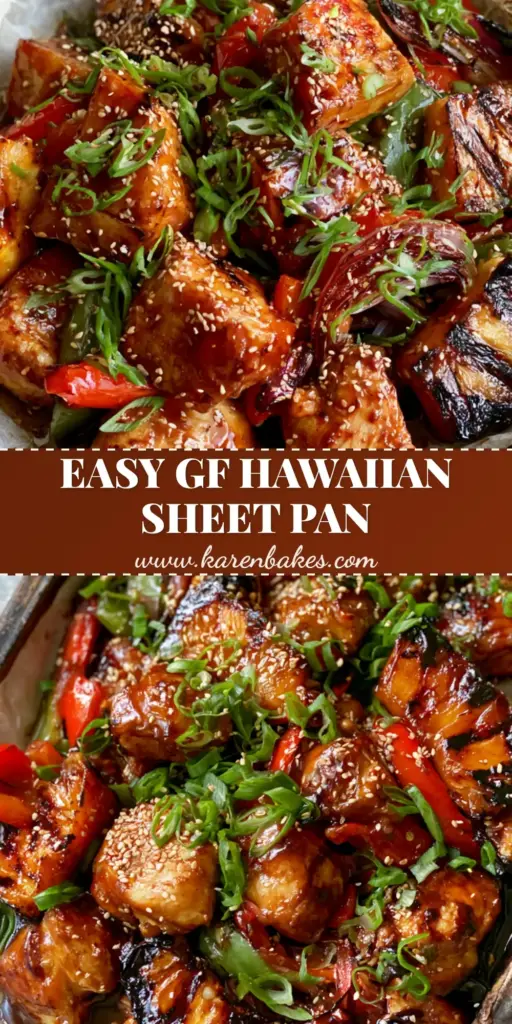
Did you love the smoky char marks and glossy teriyaki glaze of this Gluten-free Hawaiian Chicken? Don’t lose this recipe! Click the Save button to pin it to your favorite Pinterest boards. If you make this dish, please follow @katie_bites for more vibrant, easy-to-make meals, and don’t forget to share a photo of your rustic metal sheet pan creations in the comments below. Leaving a 5-star rating helps other home cooks find this delicious gluten-free meal!