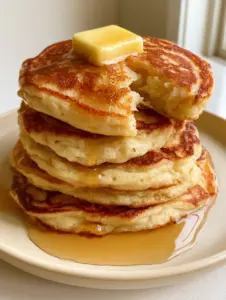
Pancake ideas often start with a craving for that perfect restaurant-style breakfast, but achieving the iconic tall stack at home requires a blend of culinary science and visual artistry. Whether you are looking for new breakfast recipes or just want to master the basics, this guide transforms simple ingredients into a steaming stack of golden-brown perfection. By focusing on the interplay of acidity and leavening, we create a pillowy white interior crumb that melts in your mouth.
This specific recipe is designed to satisfy the most demanding Pinterest aesthetic while delivering a 5-star flavor profile. If you have been searching for brunch inspiration, you have arrived at the definitive source for cloud-like textures and caramelized, lacy edges. If you love sweet breakfast treats, you might also enjoy our air fryer blueberry chimichangas.
Why These Are the Best Pancake Ideas You Will Ever Try
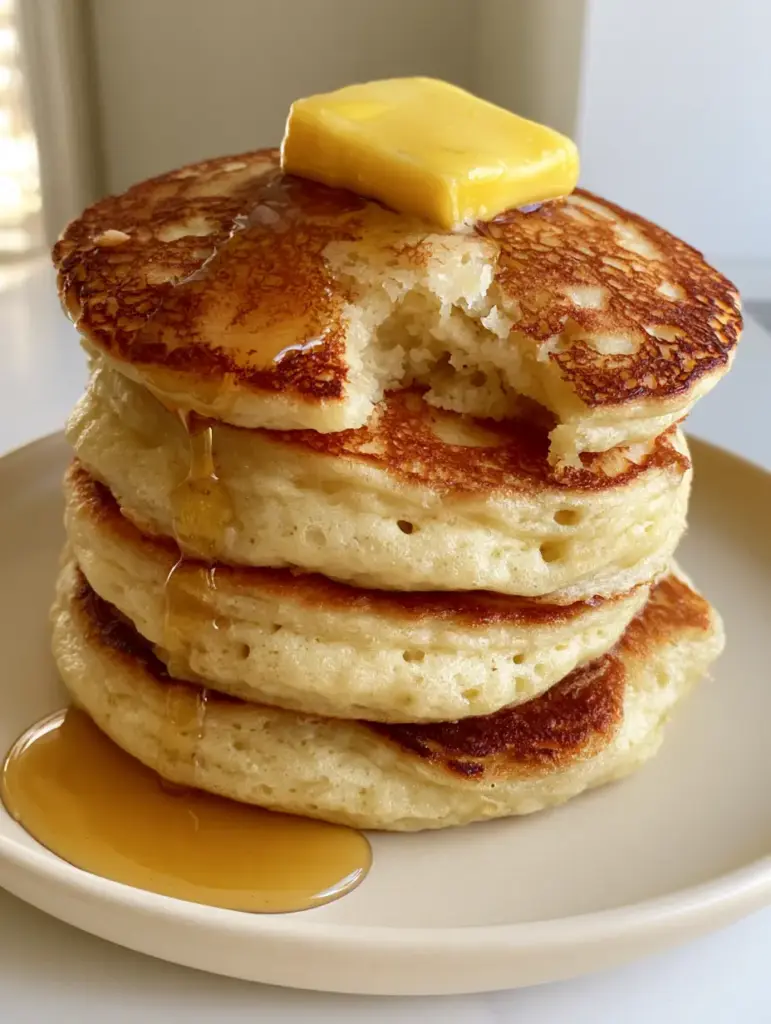
- Ultra-Fluffy Texture: We use a specific folding technique to ensure a light, airy interior with visible air bubbles.
- Caramelized Edges: A precise butter-to-heat ratio creates those crispy, golden-brown lacy perimeters seen in high-end diners.
- Visual Perfection: A tall stack of four, topped with a melting square of salted butter and glistening amber syrup.
- Dual-Unit Precision: Every measurement is provided in Imperial and Metric for global baking success.
The Secret Ingredients for High-Rise Fluffiness
All-Purpose Flour: 2 cups (250g). This provides the essential structure. For a lighter crumb similar to our angel food cupcakes, do not overwork the gluten.
Buttermilk: 2 cups (480ml). The acidity reacts with the leavening agents to create instant lift and a moist, tender crumb.
Baking Powder & Soda: 2 tsp (10g) and 1/2 tsp (3g). This double-leavening duo is non-negotiable for pancake ideas that actually stand tall.
Salted Butter: 4 tbsp (56g) melted, plus more for the pan. Fat equals flavor and helps create the golden-brown crust.
Granulated Sugar: 2 tbsp (25g). Just enough to encourage browning and caramelization without being cloyingly sweet.
Large Eggs: 2 units. Room temperature eggs emulsify better, leading to a more uniform interior texture.
Step-by-Step Instructions for the Perfect Stack
1. Sifting and Aerating the Dry Base
In a large mixing bowl, whisk together the flour, sugar, baking powder, baking soda, and a pinch of salt. Sifting isn’t just about removing lumps; it introduces air into the flour, which is the first step toward a cloud-like crumb.
2. Tempering the Wet Ingredients
In a separate jug, whisk the buttermilk and eggs. Slowly drizzle in the melted salted butter while whisking constantly. If the buttermilk is too cold, the butter will clump—ensure ingredients are slightly warm or room temperature.
3. The “Lumpy Batter” Rule
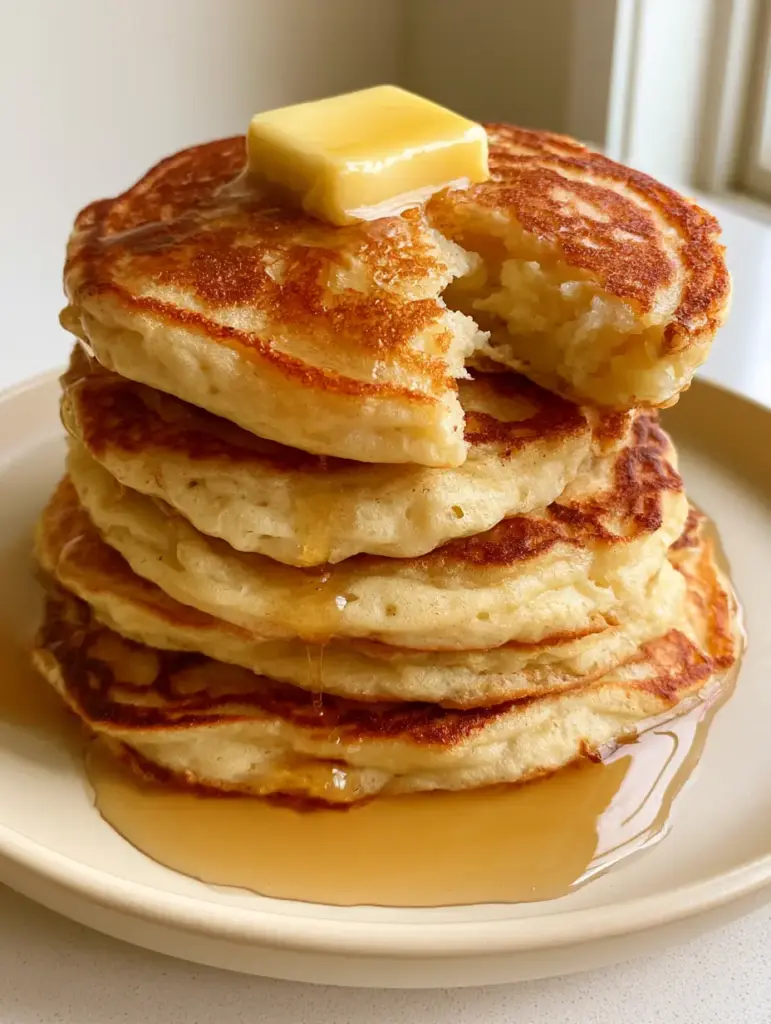
Pour the wet ingredients into the dry. Use a silicone spatula to fold gently until just combined. Stop as soon as the flour streaks disappear. Small lumps are your friend; they represent pockets of air that will expand into bubbles on the griddle.
4. Searing for Caramelized Edges
Heat a non-stick skillet or cast-iron griddle over medium heat. Add a small knob of butter. Once the butter sizzles and foams, pour 1/3 cup (80ml) of batter per pancake. Do not crowd the pan; we want a stack of four distinct, beautiful rounds.
5. Identifying the Flip Cues
Watch for small bubbles to form on the surface and the edges to look set and matte. The bottom should be a deep golden-brown. Flip once and cook for another 1-2 minutes until the center feels springy to the touch. This technique is similar to mastering the art of pancakes for beginners.
Expert Tips for Success
- Don’t Press Down: Never press the pancake with your spatula after flipping. This collapses the air bubbles you worked so hard to create.
- Rest the Batter: Let the batter sit for 5-10 minutes before cooking. This allows the flour to hydrate and the leavening to activate.
- Cast Iron is King: For those crispy, lacy edges, a well-seasoned cast iron skillet provides the most even heat distribution.
- Wipe the Pan: Between batches, wipe the pan to prevent burnt butter bits from sticking to your fresh stack.
Storage, Reheating & Freezing
Storage: Keep leftover pancakes in an airtight container in the fridge for up to 3 days. They stay moist thanks to the buttermilk content.
Freezing: Flash freeze individual pancakes on a baking sheet before transferring to a freezer bag. They last for 2 months. Great for quick breakfast ideas on busy mornings.
Reheating: For the best texture, use a toaster or a low oven (300°F/150°C). Avoid the microwave if you want to preserve the crispy caramelized edges.
What to Serve With This Stack
While a glistening amber maple syrup and a melting square of butter are classic, you can get creative. Try topping these with fresh fruit to mimic our tropical mango pancakes. For a savory-sweet brunch, serve alongside BBQ chicken skewer salad for a unique flavor contrast.
Frequently Asked Questions
You can make a quick substitute by adding 1 tablespoon of lemon juice or vinegar to 1 cup of milk, but true buttermilk provides a thicker consistency and better rise for fluffy pancake stacks.
The secret to lacy edges is using a generous amount of butter in a preheated cast iron skillet. The fat fries the perimeter of the batter, creating that sought-after crunch.
Medium heat (about 375°F/190°C) is ideal. If the heat is too high, the outside burns before the middle is cooked; if too low, the pancakes won’t get those golden caramelized edges.
Flat pancakes usually result from overmixing the batter, which develops too much gluten, or using expired baking powder. For the best pancake ideas, leave small lumps in your batter to preserve air pockets.
The Ultimate Fluffy Buttermilk Pancake Recipe
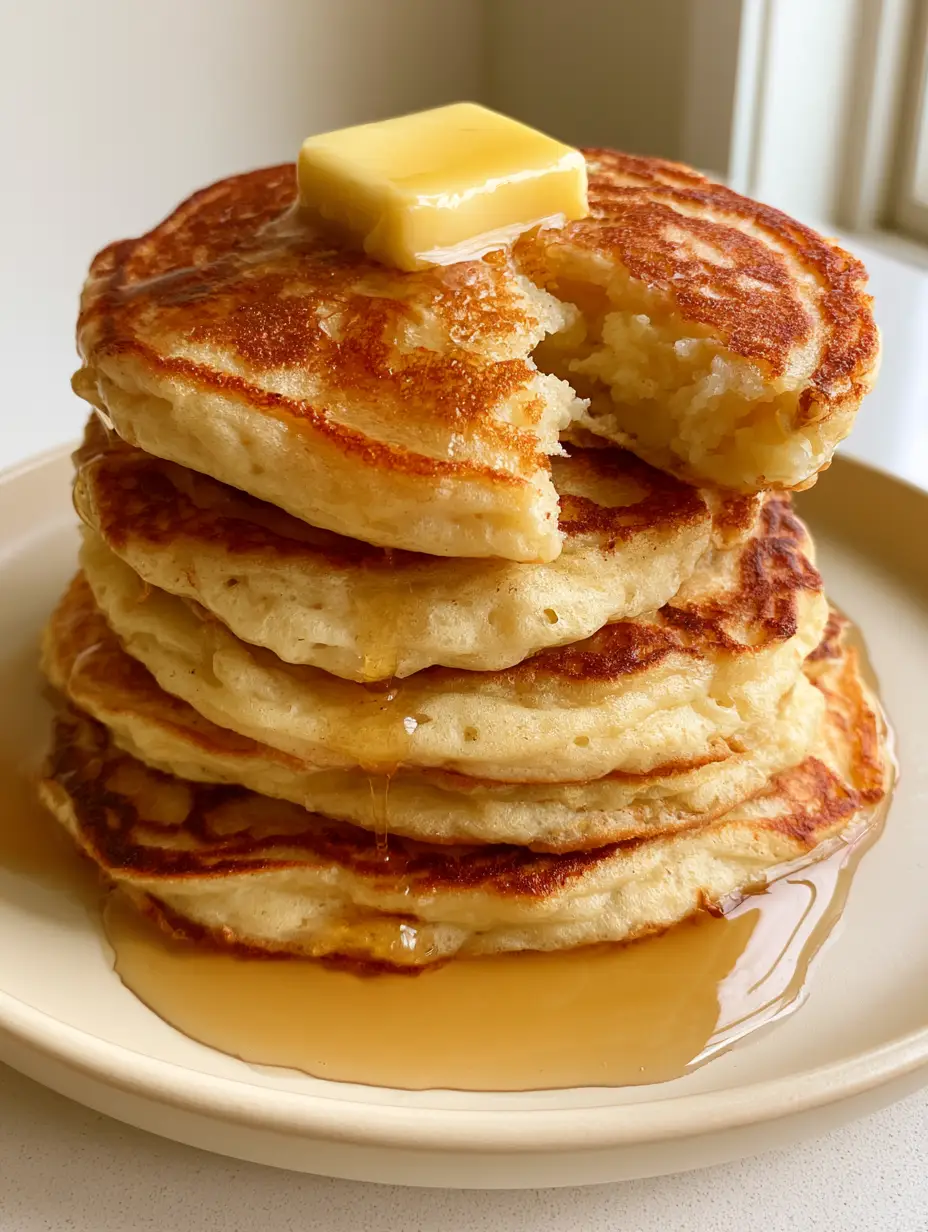
Pancake Ideas: The Ultimate Ultra-Fluffy Buttermilk Stack
Ingredients
Equipment
Method
- Whisk flour, sugar, baking powder, and soda in a large bowl.
- In a separate bowl, whisk buttermilk, eggs, and melted butter.
- Fold wet into dry until just combined; do not overmix.
- Ladle 1/3 cup batter onto a buttered griddle over medium heat. Flip when bubbles form and edges are set.
Notes
Use a cast iron skillet for those signature lacy edges.
Join the Community!
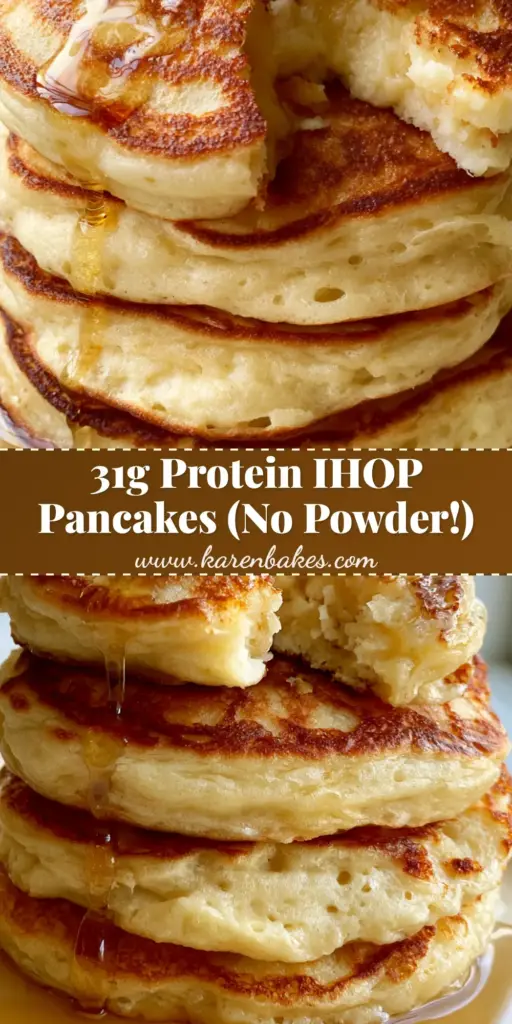
Did these pancake ideas elevate your morning? We want to see your stacks! Save this recipe to your “Breakfast Ideas” board on Pinterest so you never lose it. Follow @katie_bites for more visual recipe inspiration. If you made this, please leave a 5-star rating in the recipe card above and upload a photo of your golden-brown stack in the comments below!