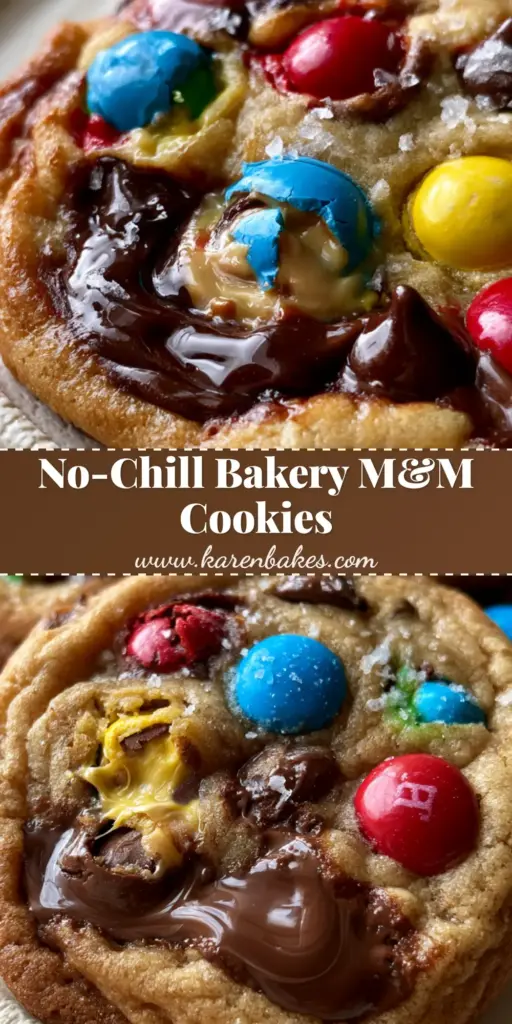
M&M cookies are the quintessential childhood treat, but these aren’t your average grocery store finds. If you have been searching for that elusive, ultra-thick, bakery-style texture with golden-brown caramelized cookie edges and a soft, buttery center, you have arrived. This recipe focuses on creating a massive, textured cookie base that holds up to heavy mix-ins while maintaining a melt-in-your-mouth quality that rivals any high-end professional bake shop.
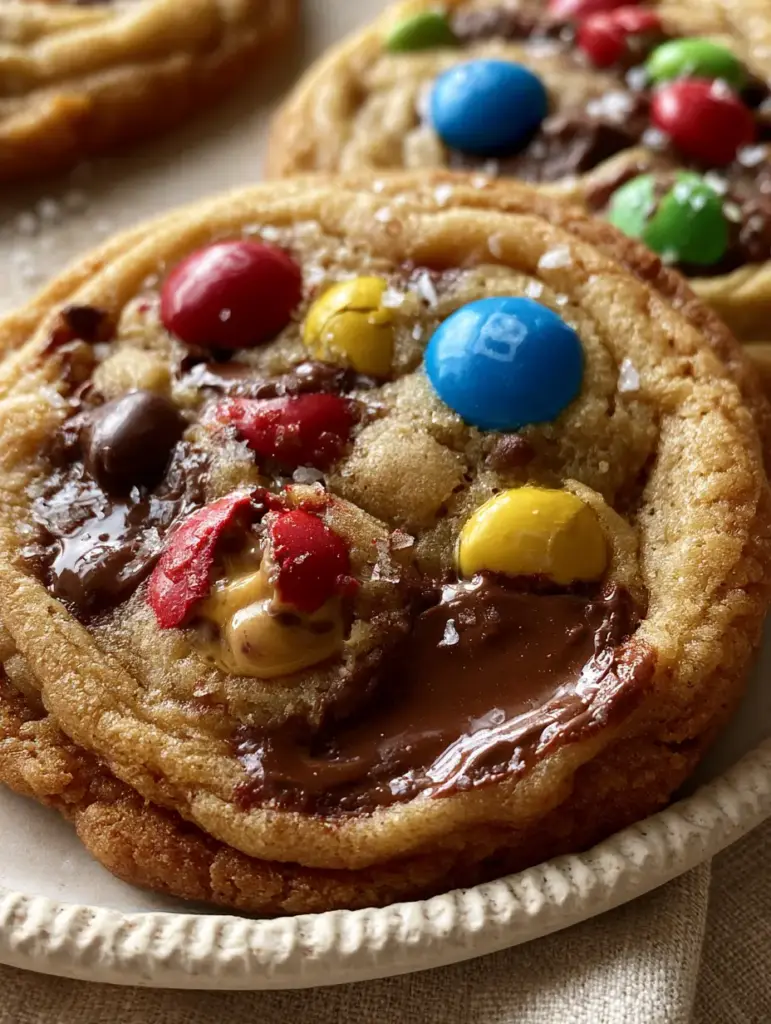
Every bite of these M&M cookies delivers a complex symphony of textures: the crunch of whole intact colorful M&M candies, the velvetiness of melted semi-sweet chocolate pools, and the surprise of cracked M&M candies with gooey milk chocolate centers. To balance the sweetness, we finish every tray with a delicate sprinkle of flaky sea salt crystals, elevating this from a simple snack to a gourmet dessert experience.
Why These Are The Best M&M Cookies You Will Ever Bake
- Unrivaled Thickness: We use a specific flour-to-butter ratio and a chilling technique to ensure these cookies stay tall and proud, never flat or greasy.
- Caramelized Complexity: A high proportion of brown sugar ensures golden-brown caramelized cookie edges that provide a slight crunch before hitting the soft center.
- Multi-Dimensional Chocolate: By combining semi-sweet chips with milk chocolate M&Ms, we create a depth of flavor that keeps you coming back for “just one more.”
- Visual Perfection: We use the “post-bake press” method to ensure vibrant, glossy M&M candies are visible on top, making them perfect for your next Pinterest board.
- The Salt Factor: A touch of flaky sea salt cuts through the sugar, highlighting the buttery notes of the dough.
If you love indulgent treats like this, you might also want to check out my strawberry shortcake cups for another crowd-pleasing dessert option.
The Science of the Perfect Bakery-Style Cookie
To achieve the “visual recipe blueprint” of a thick, textured surface, we must understand the role of temperature. Cold butter vs. melted butter changes everything. For these M&M cookies, we use slightly softened butter (not oily!) to create air pockets during the creaming process.
Cornstarch is our secret weapon. Adding just a teaspoon helps to soften the proteins in the all-purpose flour, resulting in a soft, buttery, textured surface that stays tender for days. Without it, thick cookies can often become tough or bread-like.
We also utilize a higher ratio of brown sugar to granulated sugar. Brown sugar is acidic and contains molasses, which reacts with the baking soda to create lift while adding that deep, toffee-like flavor profile that defines a professional M&M cookie.
Essential Ingredients for Success
The Dry Ingredients (Structure & Lift)
All-Purpose Flour: 3 cups (375g). This provides the structural backbone. Measure by weighing or using the “spoon and level” method to avoid dry cookies.
Cornstarch: 1 tsp (5g). This is the key to the “ultra-thick” and “soft” texture mentioned in our visual blueprint.
Baking Soda: 1 tsp (5g). This provides leavening and aids in the golden-brown caramelized cookie edges.
Sea Salt: 1/2 tsp (3g) for the dough, plus extra flaky sea salt crystals for topping.
The Wet Ingredients (Flavor & Moisture)
Unsalted Butter: 1 cup (227g), softened to room temperature. This provides the buttery, textured surface we crave.
Light Brown Sugar: 3/4 cup (150g), packed. Essential for moisture and the chewy texture.
Granulated Sugar: 3/4 cup (150g). This helps the edges crisp up and caramelize.
Eggs: 2 large, room temperature. These bind the dough and provide richness.
Vanilla Extract: 2 tsp (10ml). Use pure vanilla for the best aromatic profile.
The Mix-Ins (The “Visual Blueprint” Core)
M&M Candies: 1.5 cups (approx 300g), divided. Use vibrant, glossy M&M candies in red, blue, yellow, and green.
Semi-Sweet Chocolate Chips: 1 cup (170g). These create the melted semi-sweet chocolate pools that glisten on the surface.
Step-by-Step Instructions to Cookie Perfection
1. The Creaming Phase
In a large stand mixer fitted with the paddle attachment, beat the 1 cup (227g) of softened butter with both sugars for at least 3-4 minutes. You are looking for the mixture to become pale and fluffy. This step incorporates air, which is vital for the thick freshly-baked cookie dough base.
2. Emulsifying the Fats
Add the 2 large eggs one at a time, beating well after each addition. Pour in the 2 tsp (10ml) of vanilla extract. The mixture should look like a smooth, thick cream. If it looks curdled, continue beating for another minute.
3. Incorporating Dry Ingredients
In a separate bowl, whisk together the flour, cornstarch, baking soda, and salt. Turn the mixer to low and slowly add the dry ingredients. Stop mixing as soon as the last streak of flour disappears. Overmixing will lead to tough cookies rather than soft and chewy bakery-style cookies.
4. The Fold-In
Using a sturdy spatula, fold in 1 cup of the M&Ms and all of the semi-sweet chocolate chips. Save the remaining M&Ms for the topping. You want to see whole intact colorful M&M candies distributed throughout the dough.
If you’re looking for a quicker treat while these chill, try my 3-ingredient snacks to tide you over!
5. The Crucial Chill
Scoop large mounds of dough (about 3 tablespoons or 60g each) onto a parchment-lined tray. Do not flatten them. Chill the dough balls in the refrigerator for at least 2 hours, or ideally overnight. Chilling prevents the butter from melting too quickly, ensuring the cookies stay ultra-thick.
6. The Bake and “Visual Finish”
Preheat your oven to 350°F (175°C). Place the cold dough balls on a baking sheet, spaced 3 inches apart. Bake for 10-12 minutes. The visual cue you are looking for is golden-brown caramelized cookie edges while the centers still look slightly underdone and soft.
7. The Pinterest Aesthetic Hook
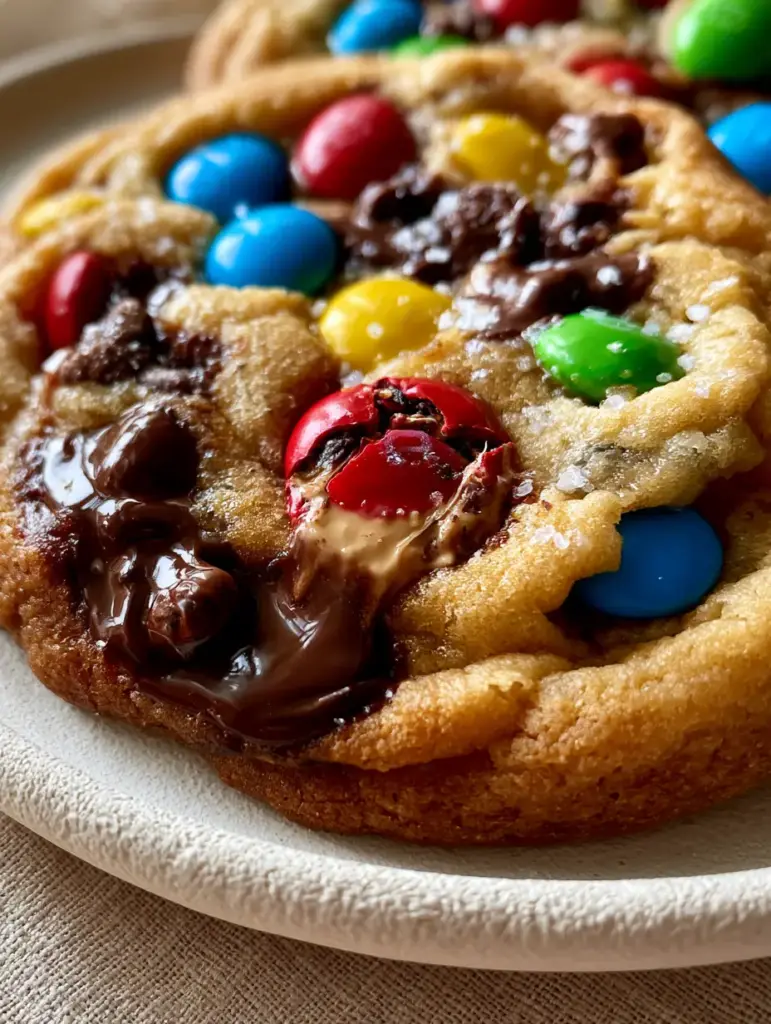
As soon as the cookies come out of the oven, take your remaining M&Ms and chocolate chips. Gently press them into the tops of the warm cookies. Pro-Tip: Slightly crack a few of the candies to reveal the gooey milk chocolate centers. Sprinkle immediately with flaky sea salt crystals.
Expert Tips for Viral-Worthy M&M Cookies
- The Pan Bang: If your cookies are too puffy, gently tap the baking sheet on the counter halfway through baking to create those beautiful ripples and textured surfaces.
- Use a Cookie Cutter: For perfectly round edges, place a large circular cookie cutter over the hot cookies and move it in a circular motion (the “scoot”) to tuck in the edges.
- Quality Chocolate: Use high-quality semi-sweet chips to ensure you get those glistening pools of rich, melted dark chocolate.
- Freezing Dough: You can freeze these dough balls for up to 3 months. Bake directly from frozen, adding 2 minutes to the bake time.
For more easy entertaining ideas, these cookies pair beautifully with my peach moscato sangria during a summer gathering.
Storage, Reheating & Freezing
Storage: Keep your M&M cookies in an airtight container at room temperature for up to 5 days. To keep them extra soft, place a slice of white bread in the container; the cookies will absorb the moisture from the bread.
Freezing: Baked cookies freeze beautifully for up to 2 months. Thaw at room temperature or warm in the microwave for 10 seconds for that freshly-baked taste.
Reheating: To regain that gooey milk chocolate center, heat a single cookie in the microwave for 8-10 seconds. The chocolate pools will glisten once again!
What to Serve With M&M Cookies
While a tall glass of cold milk is the classic choice, these cookies are versatile. Serve them alongside a fruit platter or as the base for an epic ice cream sandwich. If you are hosting a larger party with various treats, consider adding no-bake summer desserts to your spread to balance the oven-baked items.
Frequently Asked Questions
Absolutely! Store baked cookies in an airtight bag for up to 2 months. Reheat in the microwave for 10 seconds to restore the gooey chocolate pools.
Yes! M&M minis work great and provide a different aesthetic. You will still get those colorful pops, though they may not show the ‘cracked center’ look as prominently as full-sized M&Ms.
While not strictly required, cornstarch is what gives the cookies that signature ‘soft and chewy’ bakery texture. It helps keep the thick cookies from becoming too dense or dry.
The secret is to press extra M&Ms onto the cookies immediately after they come out of the oven. This prevents the candy shells from browning too much in the heat of the oven.
Cookies usually flatten if the butter was too warm or if the dough wasn’t chilled. Ensure you chill the dough balls for at least 2 hours before baking to maintain that thick, bakery-style height.
The Ultimate M&M Cookies Recipe
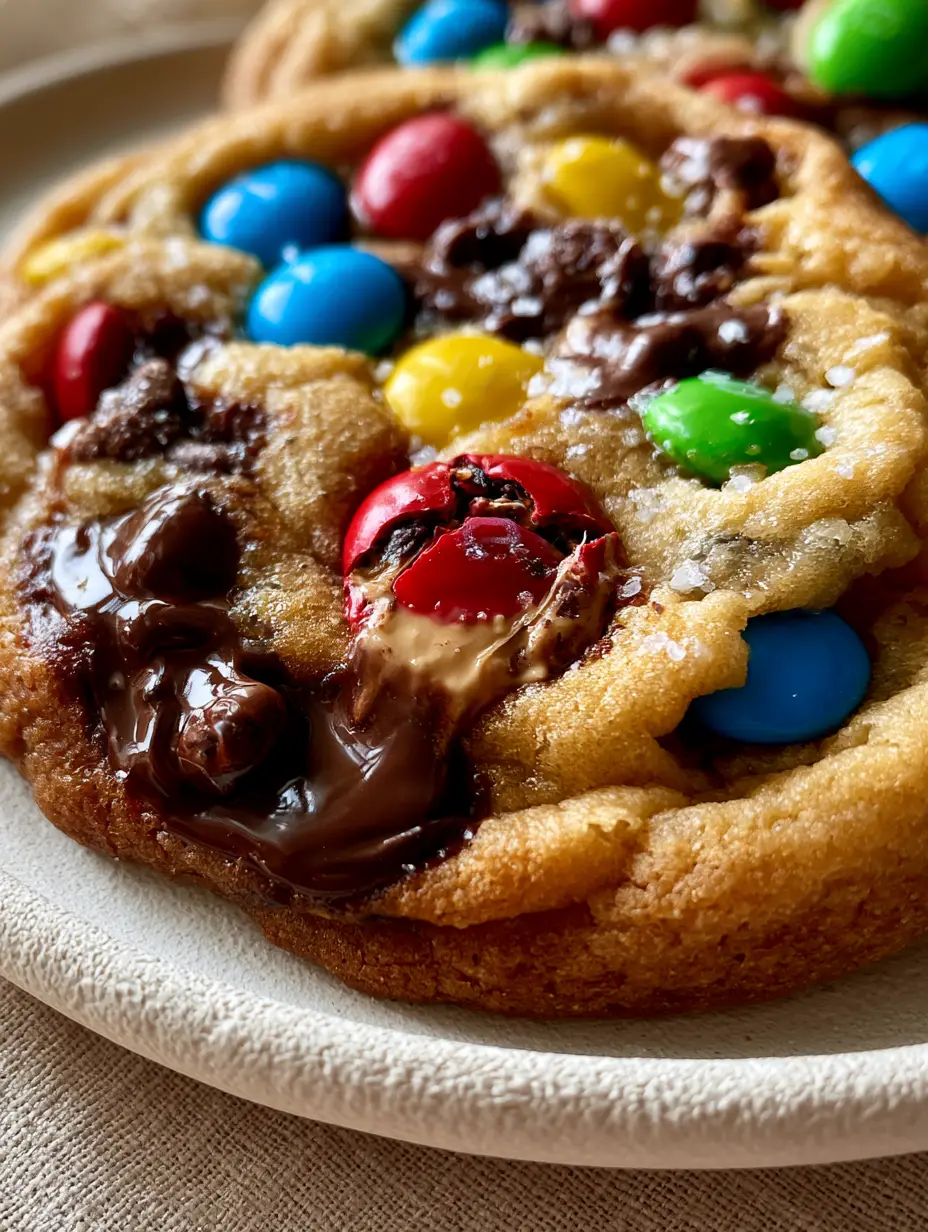
M&M Cookies: The Ultimate Thick and Chewy Bakery-Style Recipe
Ingredients
Equipment
Method
- Cream softened butter and both sugars in a stand mixer for 3-4 minutes until pale and fluffy.
- Add eggs one at a time, then vanilla extract, beating until smooth.
- Slowly mix in flour, cornstarch, baking soda, and salt on low speed until just combined.
- Fold in 1 cup of M&Ms and the chocolate chips by hand.
- Scoop 3-tbsp mounds of dough onto a tray. Chill in the fridge for at least 2 hours.
- Bake at 350°F (175°C) for 10-12 minutes until edges are golden brown.
- Immediately press remaining M&Ms and chips onto hot cookies. Sprinkle with flaky sea salt.
Notes
Don't overbake; the centers should look slightly soft when removed from the oven.
Show Off Your Bake!
We want to see your M&M cookies! Did you get those perfect melted semi-sweet chocolate pools? Did you master the flaky sea salt sprinkle?
Save this recipe to your “Dessert Goals” board on Pinterest so you never lose it! Follow katie_bites for more decadent bakery-style recipes. If you make these, please leave a 5-star rating in the recipe card below and upload a photo of your cookies in the comments—it helps our community so much!