The Sonic Princess Peach drink has officially transcended the drive-in menu to become a bona fide social media sensation. If you have spent any time scrolling through your feed lately, you have likely seen the mesmerizing sight of golden peach syrup swirling into a cloud of velvety cream.
There is something undeniably nostalgic yet sophisticated about this beverage. It combines the fizzy, sharp bite of lemon-lime soda with the lush, sun-ripened sweetness of a summer peach orchard.
In this guide, we are going to deconstruct the “Princess Peach” aesthetic to help you recreate this masterpiece at home. From the signature pebble ice to those iconic cascading vanilla cream ribbons, every detail is accounted for.
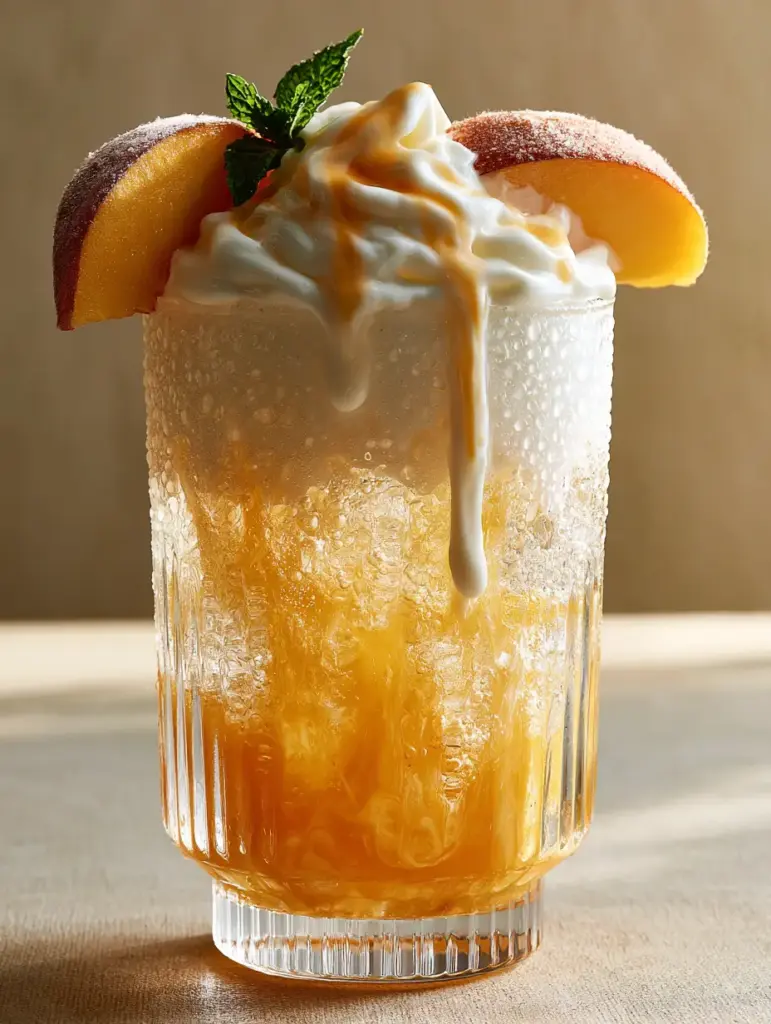
Why This Peach Cream Soda Is the Queen of Summer Sips
- Textural Contrast: You get the satisfying crunch of pebble ice paired with a “heavy, velvety cloud” of vanilla-infused cream.
- Visual Masterpiece: The thick, viscous golden-orange peach syrup creates a stunning marbled effect that looks incredible in a ribbed highball glass.
- Balanced Flavor Profile: The acidity of the lemon-lime soda cuts through the richness of the heavy cream, preventing the drink from being cloying.
- Customizable Sweetness: By making your own syrup, you control exactly how much “golden hour” sweetness goes into your glass.
Whether you are hosting an Easter Sunday brunch or just looking for the ultimate summer cocktail alternative, this drink is a guaranteed crowd-pleaser.
The Essential Components for Princess Peach Perfection
To achieve the “Extreme close-up” quality seen in viral photos, you need the right building blocks. We aren’t just mixing soda and syrup; we are engineering a multi-layered sensory experience.
Thick Golden Peach Syrup: You will need 1 cup (240ml) of concentrated peach nectar or a homemade reduction. This provides the “thick, viscous” foundation that sits at the bottom of the glass without immediately diluting.
Sparkling Lemon-Lime Soda: 12 oz (355ml) of your favorite clear citrus soda. This provides the “sparkling clear” base foundation and the necessary carbonation to lift the heavier flavors.
Heavy Cream & Vanilla Syrup: 1/4 cup (60ml) of heavy cream mixed with 1 tbsp (15ml) of vanilla syrup. This creates the “white cream cloud” that cascades down the ice in thick, beautiful ribbons.
Signature Pebble Ice: This is non-negotiable for the “Sonic” experience. Pebble ice (sometimes called nugget ice) provides more surface area for the syrup to cling to, creating that marbled look.
Fresh Peach Wedges & Mint: Two fuzzy peach slices and a delicate sprig of mint. These aren’t just garnishes; they provide the “fresh” aroma that hits your nose before the first sip.
The Tools You Need for a Viral-Ready Result
You don’t need a professional laboratory, but a few specific tools will help you achieve that “realistic, unedited texture” described in the visual blueprint.
First, find a stylish ribbed highball glass. The ridges help catch the “heavy condensation beads” and emphasize the vertical movement of the cream ribbons.
A long-handled bar spoon is also essential. You’ll use the back of the spoon to gently layer the cream, ensuring it floats and cascades rather than sinking into a muddy mess.
Finally, if you don’t have a pebble ice machine, a high-powered blender can pulse standard ice cubes into small, irregular “nuggets” that mimic the Sonic texture perfectly.
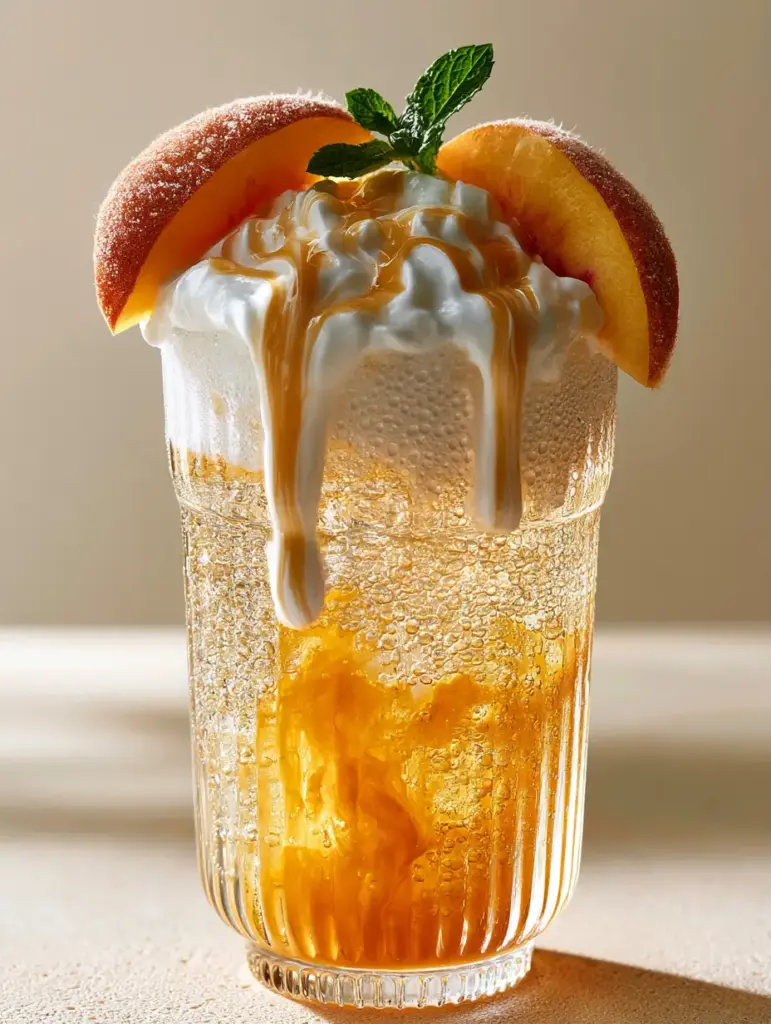
Mastering the Marbled Pour: Step-by-Step Instructions
Step 1: Preparing the Golden Foundation
In a small saucepan, simmer 1 cup (240ml) of peach juice with 1/4 cup (50g) of sugar until reduced by half. This creates a “thick, viscous golden-orange peach syrup” that is heavy enough to marble at the base.
Allow the syrup to cool completely before use. If it is too warm, it will melt your ice and ruin the “sparkling clear” appearance of the soda layer.
Step 2: Building the Ice Architecture
Fill your ribbed highball glass to the very brim with pebble ice. The ice should be packed tightly enough to act as a filter for the liquids you will pour over it later.
Watch for the “heavy condensation beads” to start forming on the exterior of the glass. This is a sign your vessel is properly chilled for the Sonic Princess Peach drink.
Step 3: The Citrus Fizz
Slowly pour 12 oz (355ml) of chilled lemon-lime soda over the ice. Leave about an inch (2.5cm) of space at the top of the glass for your cream layer.
The soda should look crystal clear against the white of the ice. If you’re looking for other fruit-forward fizz, you might also enjoy a homemade strawberry lemonade.
Step 4: The Peach Infusion
Drizzle 2 tbsp (30ml) of your prepared peach syrup directly into the center of the glass. Watch as it sinks through the pebble ice, “rising into the ice” from the bottom in a beautiful amber marble.
Step 5: The Vanilla Cream Cascade
In a small pitcher, whisk together 1/4 cup (60ml) heavy cream and 1 tbsp (15ml) vanilla syrup. Very slowly, pour this mixture over the back of a spoon onto the top of the drink.
You want to see a “heavy, velvety cloud” that begins “slowly cascading down in thick ribbons.” This is the hallmark of the viral Sonic Princess Peach drink.
Step 6: The Final Flourish
Slide two fresh, fuzzy peach slices onto the rim of the glass. Finish with a delicate sprig of mint tucked into the ice. The green of the mint against the golden peach creates a stunning “golden hour” aesthetic.
Pro Tips for the Perfect Peach Experience
- Chill Your Glass: Place your highball glass in the freezer for 10 minutes before building the drink. This ensures those “condensation droplets” last throughout your photo shoot.
- The Spoon Trick: When pouring the cream, keeping the spoon just above the ice surface prevents the cream from plunging to the bottom too quickly.
- Freshness Matters: Use ripe peaches for the garnish. The “fuzzy” texture mentioned in the prompt is only achievable with fresh, non-canned fruit.
- Syrup Density: If your syrup is too thin, it won’t marble. Ensure it has a honey-like consistency before pouring.
If you love the creamy, fruity profile of this drink, you should definitely check out our Raspberry Colada recipe for your next poolside gathering.
Refreshing Pairings for Your Princess Peach Drink
This drink is rich and sweet, so it pairs beautifully with salty or spicy snacks. Consider serving it alongside some crispy pickle poppers to balance the sugar with a savory crunch.
For a lighter lunch, this peach cream soda complements a Thai shrimp noodle salad or a zesty Asian coleslaw. The citrus notes in the soda echo the lime often found in these dressings.
If you’re looking for more tropical vibes, try alternating this with a fresh pineapple mojito or even a Tiki Torch cocktail during your summer BBQ.
Frequently Asked Questions
Yes! You can substitute the heavy cream with a thick oat milk creamer or coconut cream. Just ensure it is cold and slightly whisked to maintain that ‘cascading ribbon’ effect.
The secret is density and temperature. Use a thick peach syrup at the bottom and pour the heavy cream slowly over the back of a spoon to break its fall, allowing it to float and cascade.
No, this recipe uses caffeine-free lemon-lime soda and fruit syrup, making it a perfect refreshing treat for all ages.
The drink consists of a lemon-lime soda base mixed with peach syrup and topped with heavy cream and vanilla syrup. It’s known for its signature pebble ice and beautiful marbled appearance.
Many grocery stores sell ‘nugget ice’ by the bag, or you can pulse standard ice cubes in a high-speed blender for 2-3 seconds until they break into small, irregular pebbles.
The Official Sonic Princess Peach Drink Recipe
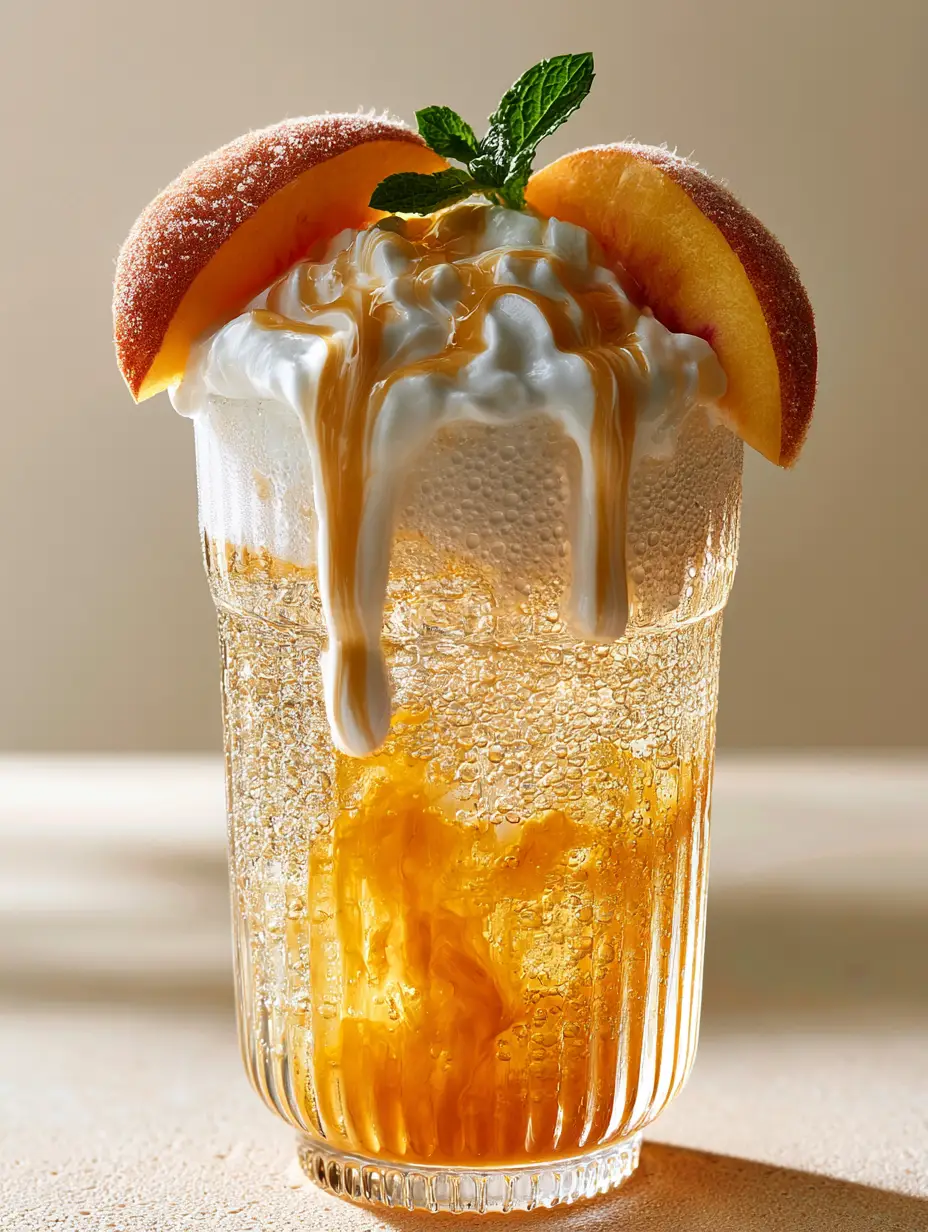
Sonic Princess Peach Drink: The Ultimate Viral Summer Refresher
Ingredients
Equipment
Method
- Simmer peach juice and sugar in a small saucepan over medium heat for 5-7 minutes until it thickens into a viscous, golden-orange syrup. Cool completely.
- In a small jug, stir the heavy cream and vanilla syrup together until well combined but still liquid.
- Fill a ribbed highball glass to the top with pebble ice. Pour the lemon-lime soda over the ice, leaving an inch of space at the rim.
- Slowly pour 2 tablespoons of the cooled peach syrup into the center of the glass, allowing it to settle at the bottom and rise slightly into the ice.
- Using the back of a bar spoon, slowly pour the vanilla cream mixture over the top. Watch for the heavy, velvety ribbons to cascade down the sides of the glass.
- Add two fresh peach slices to the rim and tuck in a sprig of mint. Serve immediately while the condensation is heavy on the glass.
Notes
For a cleaner marbled look, pour the syrup slowly down the inside edge of the glass.
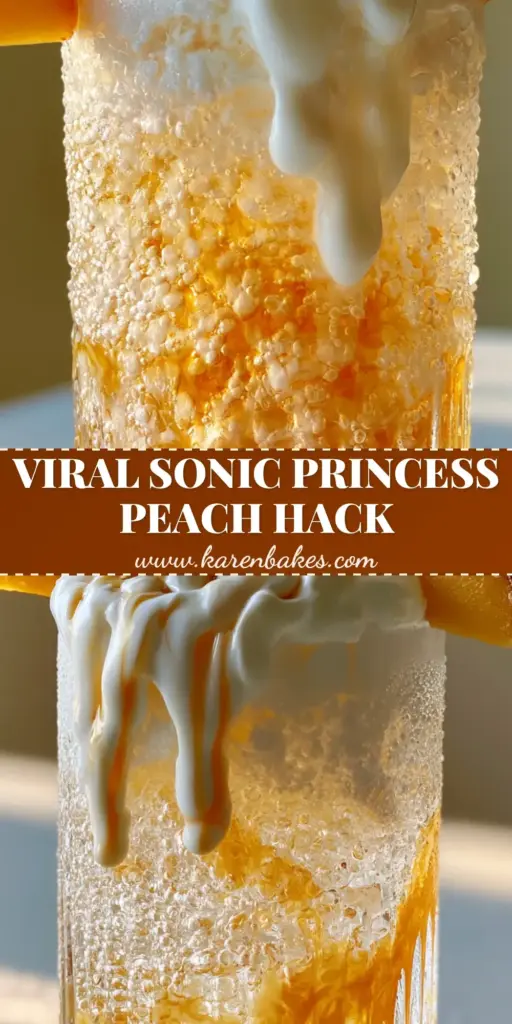
Creating the Sonic Princess Peach drink at home is more than just making a beverage; it is about capturing a specific mood. The “Soft, warm golden hour light” hitting those “thick ribbons” of cream creates a moment of pure culinary magic.
We hope this recipe brings a little bit of drive-in nostalgia and viral sparkle to your kitchen. If you enjoyed this “Princess Peach” experience, please leave a comment below and share your photos with us!
Don’t forget to save this to your favorite drink boards on Pinterest so you can find it all summer long!